
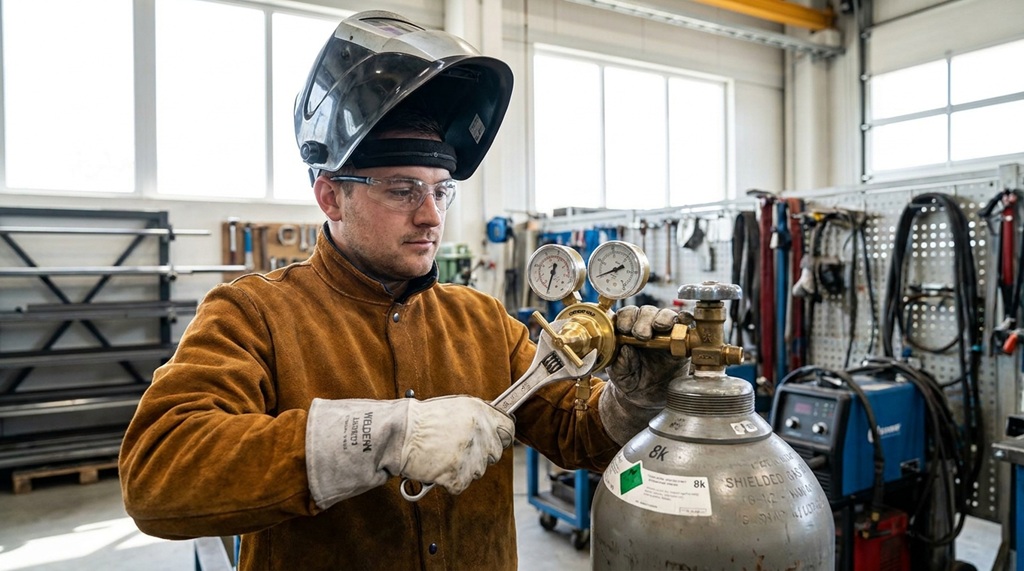

To hook up a gas regulator on a welding tank safely, you inspect the tank valve, crack it briefly to clear debris, attach the regulator, tighten the fitting, and open the valve slowly. Each step matters. Skip one, and you risk a gas leak, a damaged regulator, or worse.
This guide walks you through the process in plain language. It’s built for welders at every level, from someone setting up their first MIG bottle to a shop veteran double-checking best practices.
You’ll also learn the mistakes that trip up even experienced welders, plus a few habits that most articles skip entirely.
What You Need Before You Start
You need the correct regulator for your gas type, a wrench, and basic safety gear before you touch the tank. Using the wrong regulator is the single most common setup mistake.
Here’s your checklist:
- The right regulator. Oxygen, acetylene, argon, and CO2 regulators are not interchangeable. Each gas has a different thread type and pressure range.
- A tank wrench or adjustable wrench. Some fittings tighten by hand, but most benefit from a proper tool for a secure seal.
- Safety glasses. A quick burst of high-pressure gas can kick up dust or debris.
- A stable, upright tank. Never connect a regulator to a tank that’s lying down or leaning at an angle.
- A well-ventilated area. This matters most with acetylene and other flammable gases.
Check the regulator’s gauge before you begin. If the needle already sits above zero with no gas connected, the gauge may be faulty. Replace it before use.
Step-by-Step: Connecting the Regulator to the Tank
Connecting a regulator involves five main steps: crack the valve, inspect the seal, attach the regulator, tighten the connection, and open the tank slowly. Rushing any of these steps is where accidents happen.
Step 1: Crack the Tank Valve First
Before attaching anything, open the tank valve for one quick second, then close it again. This is called “cracking” the valve. It blows out any dust, dirt, or debris sitting in the valve opening.
Point the valve opening away from yourself and anyone nearby when you do this. Never crack a valve near an open flame or spark source.
Step 2: Check the Regulator Seal (Washer or O-Ring)
Look at the regulator’s inlet connection for a small rubber or fiber washer. This seal is what keeps gas from leaking out once the regulator is attached.
If the washer looks cracked, flattened, or missing, replace it. A worn seal is one of the top causes of small gas leaks that go unnoticed for weeks.
Step 3: Attach the Regulator to the Tank Valve
Line up the regulator’s inlet with the tank valve outlet and hand-thread the connection. Oxygen and CO2 fittings thread clockwise (right-hand thread). Acetylene fittings thread counter-clockwise (left-hand thread) this is intentional, so the wrong gas can’t accidentally connect to the wrong tank.
Get the threads started by hand before using a wrench. If the fitting doesn’t thread smoothly, stop. Forcing a cross-threaded connection damages both the tank valve and the regulator.
Step 4: Tighten the Connection Properly
Once the threads are started, use a wrench to snug the fitting. It should feel firm and secure, but you’re not trying to crank it as tight as physically possible.
Overtightening strips threads or cracks the regulator body. A properly seated fitting with a good washer doesn’t need excessive force to seal.
Step 5: Open the Tank Valve Slowly
Stand to the side of the regulator gauges, not directly in front of them, and open the tank valve slowly. Opening it fast can cause a pressure spike that damages the regulator’s internal diaphragm a mistake known in the trade as “gauge slam.”
For oxygen tanks specifically, slow opening also prevents a rare but serious risk called adiabatic compression, where rapid gas compression generates enough heat to ignite trace oil or grease inside the regulator.
Common Mistakes That Trigger Gas Leaks and Equipment Damage
While hooking up a gas regulator is straightforward, minor oversights during installation can lead to costly component damage or hazardous pressure leaks. The most frequent culprit is over-tightening the brass fittings, which easily strips delicate threads and deforms internal seals. Failing to crack the tank valve briefly before mounting the regulator to blow out trapped dust and debris can contaminate the inlet seat and cause pressure creep. Additionally, using damaged O-rings, applying teflon tape where taper seats are designed to seal dry, or failing to inspect the valve face for oily residue prior to connection can severely compromise system integrity; once your gas tank is securely attached and leak-checked, staying proactive with proper equipment maintenance remains essential for peak performance, so be sure to learn clean welding machine parts to extend lifespan to keep your entire setup running smoothly.
Skipping the Valve Crack
Skipping this step lets dust and debris enter the regulator’s fine internal passages. Over time, this causes inaccurate pressure readings or a regulator that won’t seat properly.
Using a Damaged or Missing Washer
A missing or cracked washer is invisible until gas starts leaking. Always keep a few spare washers in your welding bag they’re cheap and easy to lose.
Opening the Valve Too Fast
Fast valve opening is the top cause of a blown regulator diaphragm. If your gauge needle jumps and doesn’t settle to a steady reading, close the valve and have the regulator inspected before continuing.
Mixing Up Gas-Specific Regulators
An acetylene regulator will not physically thread onto an oxygen tank, and that’s by design. But some shops mistakenly use a general-purpose inert gas regulator (built for argon or CO2) on the wrong bottle type. Always match the regulator to the exact gas listed on the tank label.
A Habit Most Guides Never Mention: The “Soap Bubble Test”
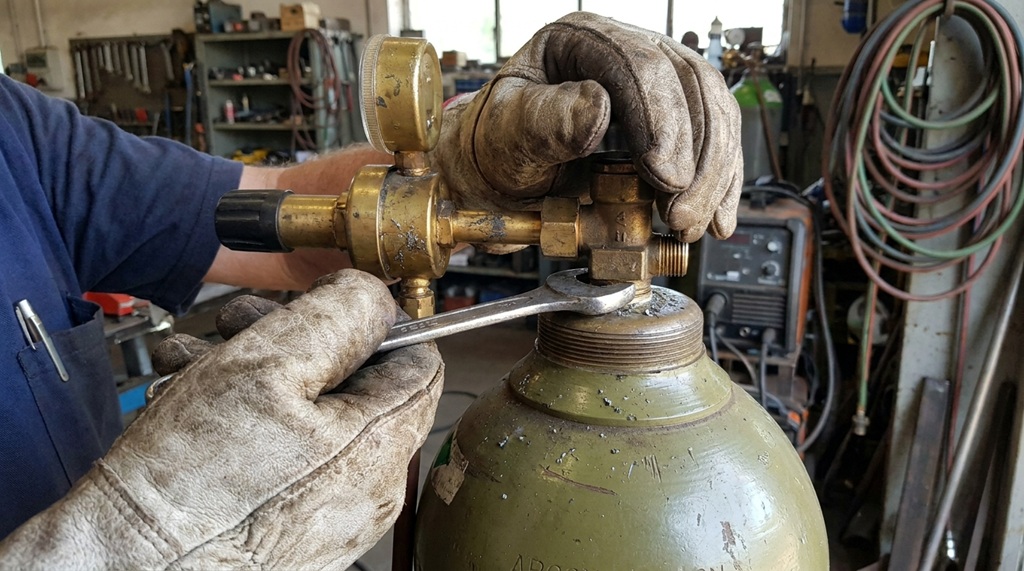
After connecting your regulator and opening the tank, most guides tell you to just start welding. A better habit is the soap bubble test, and it takes less than a minute.
Mix a small amount of dish soap with water and brush it over the regulator connection point. If bubbles form, gas is escaping somewhere in the seal. This simple test catches slow leaks that you’d never notice by smell or sound, especially with odorless gases like argon or CO2.
Professional welding shops often skip this step because they trust routine maintenance schedules. But for home welders, hobbyists, or anyone using a tank that’s been in storage, this thirty-second check is one of the cheapest ways to catch a problem before it becomes dangerous.
How to Disconnect a Regulator Safely
To disconnect a regulator, close the tank valve first, bleed off the remaining pressure, then loosen the fitting. Doing this in the wrong order leaves pressurized gas trapped in the line.
Here’s the safe order:
- Close the tank valve completely.
- Open the torch or gun trigger briefly to release trapped gas from the hose.
- Watch the regulator gauges drop to zero.
- Loosen the regulator’s adjusting screw fully.
- Use a wrench to disconnect the regulator from the tank.
Store the regulator in a clean, dry place when it’s not in use. Dust and moisture are the main reasons regulators wear out early.
Frequently Asked Questions
Do I need a different regulator for every gas type?
Yes, you need a regulator matched to the specific gas you’re using. Oxygen, acetylene, argon, and CO2 all use different thread types, pressure ranges, and internal materials designed for that gas.
Why does my regulator gauge read high even when the tank valve is closed?
This usually means gas is still trapped in the line, or the regulator has a faulty seat that’s letting gas pass through even when closed. Bleed the line by triggering your torch, and if the gauge still won’t drop, have the regulator serviced.
Is it safe to use PTFE tape on regulator threads?
Most manufacturers advise against tape on regulator connections, since the seal comes from the washer, not the threads. Tape can actually interfere with proper seating and cause a leak instead of preventing one.
How often should I replace the regulator washer?
Check the washer every time you swap tanks, and replace it at the first sign of cracking, flattening, or wear. Keeping a small stock of spare washers on hand makes this an easy habit.
Can I use a regulator that’s been dropped?
No, you should not use a regulator after it’s been dropped, even if it looks fine. Internal components like the diaphragm or gauge mechanism can suffer damage that isn’t visible from the outside, and this creates a real safety risk.
Conclusion
Hooking up a gas regulator on a welding tank safely comes down to five steps: crack the valve, check the seal, attach the regulator, tighten it properly, and open the valve slowly. Add the soap bubble test as a habit, and you’ll catch leaks before they become a real problem.
Take the extra thirty seconds each time you set up. It’s a small habit that protects your gear, your shop, and yourself.