

A dirty welding machine dies young. Dust, spatter, and grime clog the internal fans. The machine overheats. Parts wear out fast. Regular cleaning is the single easiest way to extend the lifespan of any welder, whether you run a MIG, TIG, or stick machine.
Most welders skip cleaning until something breaks. By then, the damage is often done. Heat builds up inside a dirty unit. That heat cooks the circuit boards and burns out fans. A ten-minute cleaning routine can prevent a costly repair bill.
This guide walks you through exactly how to clean your welding machine parts, what tools to use, and how often to do it. You will also learn which mistakes ruin equipment and which small habits keep it running for years.
Why Cleaning Welding Machine Parts Actually Matters
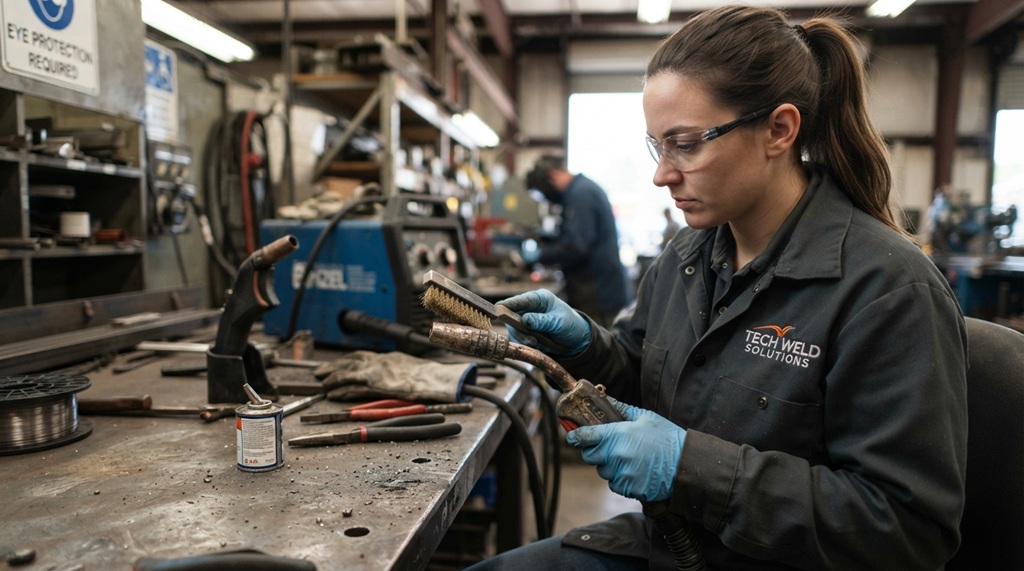
A clean welder runs cooler, works more efficiently, and lasts longer. Heat is the main enemy of any welding machine. Dust and metal debris trap heat inside the unit and stop it from escaping properly.
Welding machines pull in air to cool their internal components. That same airflow pulls in shop dust, grinding debris, and metal fines. Over time, this buildup coats the circuit boards, transformer, and fan blades. The machine has to work harder to stay cool. Harder work means faster wear.
Industry experts note that overheating is one of the most common causes of premature welder failure. A layer of conductive metal dust inside the case can also cause short circuits. This is not just a performance issue. It is a safety issue too.
The Real Cost of Skipping Maintenance
Skipping cleaning does not save time. It costs more time later. A clogged machine runs hotter, trips more often, and needs professional repair sooner.
Replacing a fan motor or control board is far more expensive than a monthly cleaning session. Downtime on a job site costs money too. A machine that shuts down mid-project stalls the whole crew.
Tools and Supplies You Need Before You Start
You do not need expensive equipment to clean a welding machine properly. A basic kit covers almost every job.
- Compressed air (a shop compressor or canned air)
- Soft-bristle brush (an old toothbrush works fine)
- Microfiber cloths
- Isopropyl alcohol (90% or higher)
- Non-conductive contact cleaner
- Small vacuum with a brush attachment (optional but useful)
- Anti-static wrist strap (for internal work)
Avoid household cleaners, water sprays, or anything with ammonia. These can damage electrical components or leave a residue behind. Stick to tools made for electronics.
Step-by-Step Guide to Cleaning Welding Machine Parts
Follow this order every time. Skipping steps or rushing the process is how parts get damaged.
Step 1: Unplug the Machine and Let It Cool
Always disconnect the power before you open the case. Never clean a machine while it is hot or still plugged in.
Wait at least fifteen minutes after use. Internal capacitors can hold a charge even after the power is off. Touching them too soon is dangerous.
Step 2: Remove the Outer Casing
Take off the side panels or cover using the correct screwdriver. Set the screws aside in a small container so you don’t lose them.
Take a photo before you start if the layout looks complex. This makes reassembly much easier later.
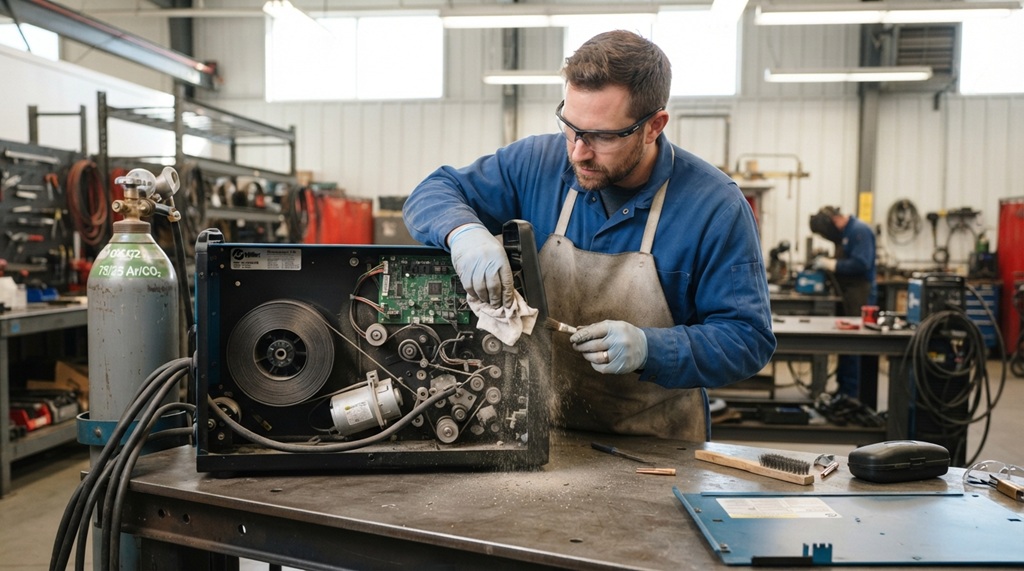
Step 3: Blow Out Dust With Compressed Air
Use short bursts of compressed air to clear loose dust from the fan, vents, and internal components. Hold the nozzle a few inches away from the parts.
Never blow air directly into switches or connectors at full pressure. This can force dust deeper into small gaps instead of clearing it out. Work in short bursts and change angles as you go.
Step 4: Brush Off Stubborn Debris
Use a soft-bristle brush to loosen dust that compressed air alone won’t remove. Focus on the fan blades, heat sinks, and transformer coils.
Never use a metal brush or anything abrasive. Metal bristles can scratch components or leave conductive particles behind.
Step 5: Clean Electrical Contacts and Connectors
Wipe down connectors and terminals with a cloth lightly dampened in isopropyl alcohol. This removes oxidation and buildup that can cause poor conductivity.
Let every part dry completely before you reassemble anything. Moisture left inside the case is one of the top causes of internal shorts.
Step 6: Clean the Torch, Ground Clamp, and Cables
The torch, ground clamp, and cables collect spatter and grime just as much as the internal machine does. Wipe the cables down with a dry cloth after every use to remove dust and oil.
Check the ground clamp for rust or spatter buildup. A dirty ground connection causes poor arc quality and inconsistent welds, even if the machine itself is spotless.
Step 7: Reassemble and Test
Put the casing back on and reconnect the power once every part is fully dry. Run the machine briefly to confirm it powers on and sounds normal.
Listen for unusual fan noise or rattling. These sounds often mean a part was reinstalled incorrectly or something was left loose inside the case.
An Angle Most Guides Skip: Match Your Cleaning Schedule to Your Environment
Most articles tell you to clean your welder “regularly.” That advice is too vague to be useful. Your actual cleaning schedule should depend on where and how often you weld.
Shop welders in a clean, climate-controlled space can often go two to three months between deep cleanings. Light dust buildup is normal, and quick surface wipe-downs each week are usually enough.
Job site or outdoor welders face far more dust, dirt, and moisture. A weekly cleaning schedule is often necessary in these conditions. Concrete dust and grinding debris are especially damaging because they conduct electricity and clog vents fast.
High-duty-cycle users, such as production welders running machines for hours daily, should check filters and vents every two weeks. Heavy, constant use generates more internal heat, which pulls in more airborne debris.
Track your cleaning dates on a simple sticker inside the case or a note on your phone. This turns maintenance into a habit instead of a guess.
Preventable Pitfalls: How Misguided Cleaning Degrades Welding Equipment
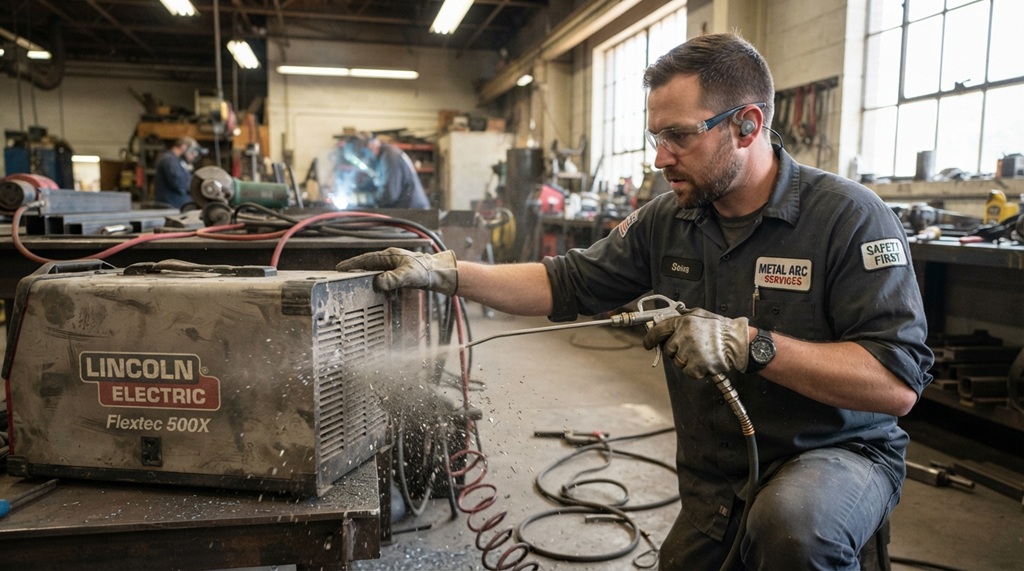
While routine maintenance is essential, improper cleaning techniques can inflict far greater damage on your welding machine than accumulated grime ever will. Using high-pressure compressed air, harsh chemical solvents, or abrasive metal tools near sensitive internal electronics can strip protective coatings, force conductive dust deeper into printed circuit boards, and permanently degrade critical components. However, even the most meticulous cleaning routine won’t protect your setup if you are running mismatched consumables learning choose welding torch tips to prevent burnback is equally vital to ensure consistent wire feeding, maintain arc stability, and avoid costly operational downtime.
Using Water or Household Cleaners
Water and standard cleaning sprays can corrode metal contacts and damage sensitive electronics. Stick to compressed air and isopropyl alcohol only.
Cleaning While the Machine Is Still Warm
Cleaning a hot machine can warp plastic components and creates a shock risk. Always wait until the unit is fully cooled.
Skipping the Fan and Vents
The fan and vents are the most important parts to clean because they control airflow and heat escape. Neglecting them defeats the entire purpose of cleaning.
Over-Tightening Screws During Reassembly
Stripped screws can crack the casing or fail to hold it securely. Tighten screws snugly, not forcefully.
Ignoring the Cables and Ground Clamp
A dirty ground clamp affects weld quality even when the internal machine is clean. Treat cable maintenance as part of the same routine, not a separate task.
How Cleaning Habits Affect Weld Quality and Machine Warranty
Clean equipment does not just last longer. It also welds better and protects your warranty.
Dust buildup on internal components can cause voltage fluctuations, which lead to inconsistent arc performance. A clean machine delivers steadier output and more predictable welds.
Many manufacturers require documented maintenance to honor a warranty claim. Keeping a simple log of your cleaning dates can save you from a denied claim if something fails early. Check your specific machine’s manual, since warranty terms vary by brand.
Frequently Asked Questions
How often should I clean my welding machine?
Shop welders in clean environments can clean their machine every two to three months. Job site welders working in dusty or outdoor conditions should clean weekly. High-use production welders should check filters and vents every two weeks.
Can I use water to clean the inside of my welding machine?
No. Water can corrode electrical contacts and damage internal components. Use compressed air, a soft brush, and isopropyl alcohol instead.
Do I need to open the case, or is external cleaning enough?
External cleaning helps, but it is not enough on its own. Dust builds up inside the case around the fan and circuit board, so periodic internal cleaning is necessary to prevent overheating.
Will cleaning my machine actually void the warranty?
No, cleaning your machine according to the manufacturer’s guidelines will not void the warranty. In fact, many manufacturers require basic maintenance, including cleaning, to keep the warranty valid.
What is the biggest sign my welder needs cleaning right now?
Frequent overheating shutdowns are the clearest sign. If your machine trips or cuts out during normal use, internal dust buildup is a likely cause.
Conclusion
Cleaning your welding machine parts is one of the simplest ways to extend its lifespan and protect your investment. A ten-minute routine, done on a schedule that fits your work environment, can prevent overheating, poor weld quality, and expensive repairs.
Unplug the machine, clear the dust, clean the contacts, and check your cables every time. Match your cleaning frequency to how and where you weld. This one habit keeps your welder running strong for years, not just months.