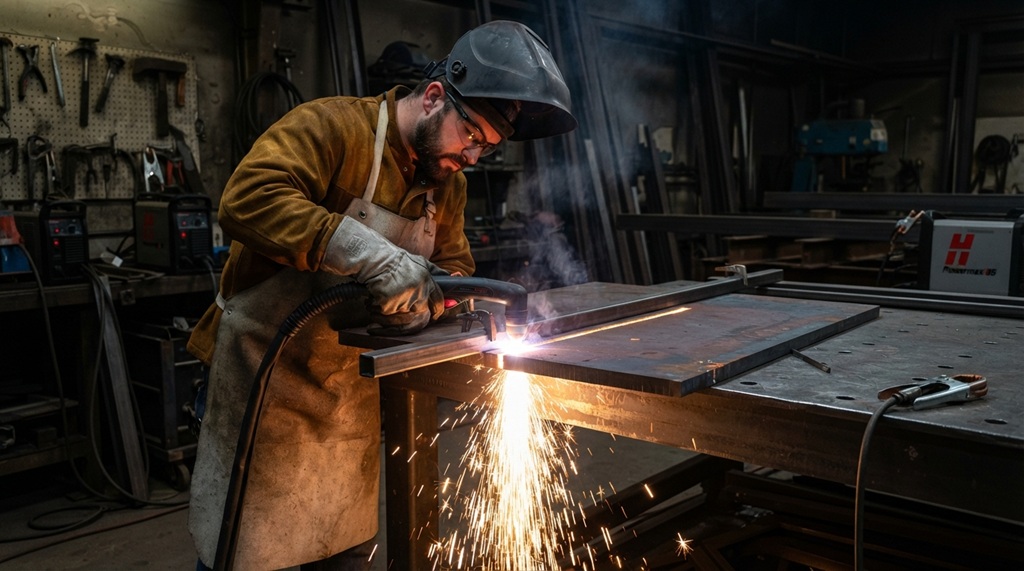

The best plasma cutter for clean metal cuts is the one that matches your amperage, air supply, and duty cycle to the material you cut most often. Don’t buy for your one dream project. Buy for your typical job. Get that match right, and clean cuts follow almost automatically. Get it wrong, and even a premium machine will leave you with dross, beveled edges, and hours of grinding.
Plasma cutters look simple from the outside. You pull the trigger, watch the arc, and cut the metal. But the gap between a clean, square edge and a ragged one usually comes down to a few decisions you make before you even buy the machine. This guide walks through what to check, in the order it actually matters, so you can pick a plasma cutter that gives you consistent, clean results.
Whether you’re setting up a home shop, upgrading from an entry-level unit, or buying for a fab shop floor, the same basics apply.
Match Amperage to the Metal Thickness You Actually Cut
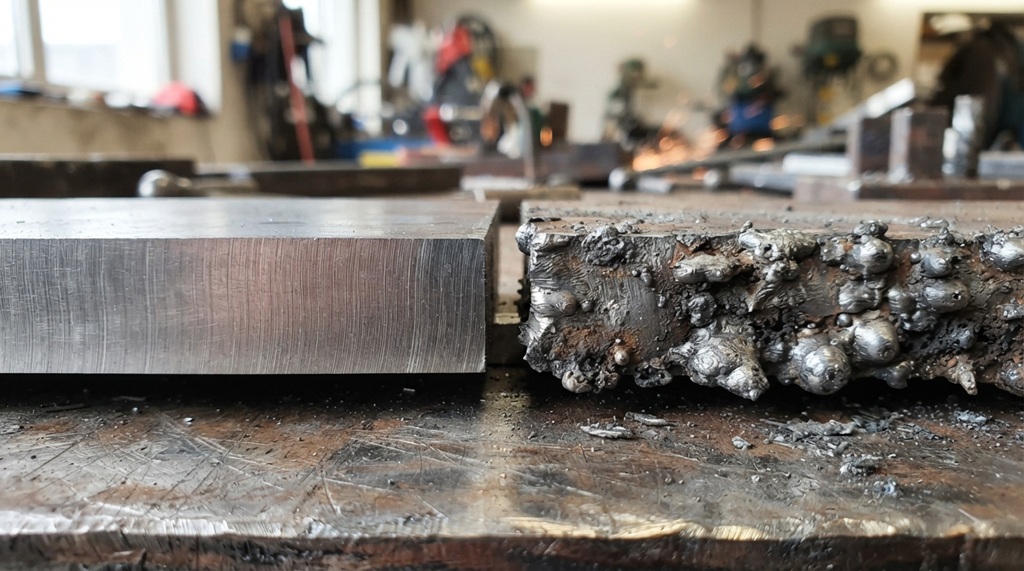
Amperage output decides how thick a piece of metal your plasma cutter can cut cleanly. It’s the single most important spec on the whole machine. Most manufacturers list two thickness numbers: a “rated” or “clean cut” thickness, and a “severance” or “max cut” thickness. The rated number is the thickness the machine cuts all day smoothly. The severance number is the thickness it can punch through, slowly and roughly, but you shouldn’t count on it for quality work.
Why the “Rated” Number Matters More Than the “Max” Number
A machine advertised as cutting “up to 1/2 inch” might only produce clean edges up to 3/8 inch. That last eighth-inch is often severance-only. Say most of your work is 1/4-inch mild steel. A machine rated for a clean cut at 3/8 inch or better gives you room to spare, instead of running at its ceiling on every job.
General Amperage Guidelines by Thickness
- 20-30 amps: light-gauge sheet metal, up to roughly 1/8 to 3/16 inch
- 40-50 amps: general fabrication work, up to about 1/2 inch
- 60-80 amps: heavier fabrication and structural steel, up to roughly 3/4 to 1 inch
- 90+ amps: plate steel and industrial applications, 1 inch and beyond
Buy slightly above your typical thickness. Running a machine at its absolute max on every cut wears out consumables faster and raises the odds of an uneven edge.
Understand Duty Cycle Before You Buy
Duty cycle tells you how long a plasma cutter can run before it needs to cool down. Ignoring this spec is one of the most common buying mistakes. Manufacturers usually list it as a percentage over a 10-minute window. A 50% duty cycle at 40 amps means the machine can cut for 5 minutes, then needs 5 minutes to cool before you can run it at that setting again.
Hobbyists making shortcuts on brackets and small parts can usually get by with a lower duty cycle. Their cuts rarely run longer than a minute or two. But anyone doing production work, long straight cuts on plate, or CNC-table cutting needs a higher duty cycle. Otherwise the machine shuts down mid-job. Restarting mid-cut is one of the fastest ways to leave a visible seam in an otherwise clean line.
Torn between two machines and unsure which duty cycle you need? Choose the higher one. It costs more upfront, but it won’t leave you stuck once you move past small hobby projects.
Pilot Arc Mechanics: Optimizing Cut Quality and Consumable Longevity
The mechanism behind your pilot arc directly influences edge cleanliness, torch maneuverability, and the overall lifespan of your consumables. While contact-start (blow-back) systems offer straightforward reliability for manual work on clean metals, non-contact (high-frequency) arcs allow you to initiate cuts seamlessly through painted or rusted surfaces without wearing down the nozzle tip prematurely. However, optimizing your cut setup is only half the equation when building a high-performance workshop—evaluating your joining equipment demands the exact same rigor. If you are also expanding your fabrication capabilities, take the time to evaluate test MIG welder performance before buying so every tool in your lineup delivers professional-grade results.
Contact-Start Pilot Arcs
Contact-start machines fire the arc by touching the torch tip to the metal, then pulling back slightly to hold the arc. You’ll find these on most entry-level and mid-range handheld cutters, since they’re simpler and cheaper to build. The catch: repeated touching wears down the electrode and nozzle faster. That wear shows up over time as a less consistent arc, and a less consistent arc means a less consistent edge.
Non-Contact (High-Frequency) Pilot Arcs
Non-contact machines start the pilot arc without touching the metal. They use a high-frequency spark instead. This wears out consumables more slowly. It also handles painted, rusted, or expanded metal better, since contact-start arcs can struggle to get a clean start on those surfaces. Non-contact is the standard on CNC and production-table plasma systems. If repeatable, clean cuts across hundreds of parts matter more to you than upfront cost, look for this type.
Check the Air Supply Requirements Before You Commit
Every plasma cutter needs a steady supply of clean, dry compressed air to generate the plasma arc. A mismatched air supply is one of the quietest causes of bad cuts. Air pressure and flow do two jobs at once: they ionize the gas into plasma, and they blow the molten metal out of the kerf. If your air supply falls short on pressure (PSI) or volume (CFM), the arc gets unstable. The cut edge turns rough, often with dross clinging to the bottom.
Check the manufacturer’s spec sheet for required PSI and required CFM at that pressure. Then compare it to your air compressor’s continuous output, not the tank’s peak burst capacity. A compressor that hits the right PSI in short bursts but can’t sustain the required CFM will start strong and fade mid-cut. This is a common, avoidable reason people blame the plasma cutter for a bad edge, when the real culprit is the air source.
Also check whether the air needs filtering and drying before it reaches the torch. Moisture and oil in the airline are among the most overlooked causes of poor cut quality. They contaminate the arc and shorten consumable life too. Most machines include an inline filter/regulator, or strongly recommend adding one. Don’t skip it.
Decide Between Portability and Power Input
Power input, specifically voltage and whether the machine runs single-voltage or dual-voltage, decides where and how flexibly you can use the plasma cutter. It’s worth thinking through before amperage in some cases, since it can rule out certain machines entirely.
110V/120V Machines
These run off a standard household outlet, which makes them the most portable option. You can set one up in a home garage without calling an electrician. The tradeoff is lower max amperage, so they suit thinner materials best, generally up to around 1/4 to 3/8 inch depending on the model.
220V/240V and Dual-Voltage Machines
220V machines deliver more consistent amperage at thicker cuts. They’re the standard for serious fabrication work. But they need a dedicated higher-voltage circuit, and not every garage or job site has one. Dual-voltage machines solve this by detecting and adjusting to either 110V or 220V input automatically. You get a standard outlet for light work and a 220V circuit when you need more cutting power. That flexibility is genuinely useful if you split time between a home shop and job sites with unpredictable power.
Factor in Consumable Costs, Not Just the Machine Price
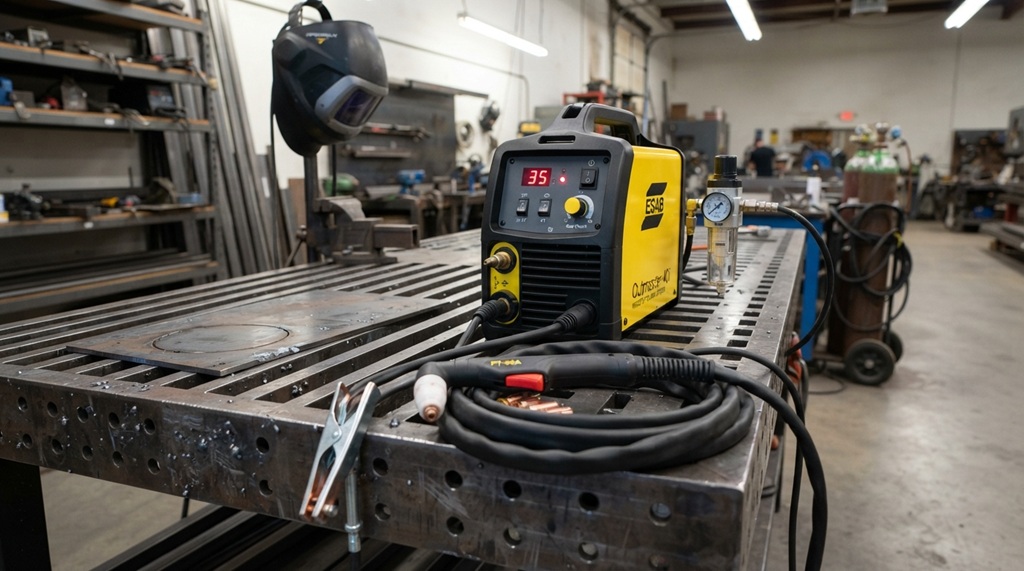
The sticker price on a plasma cutter is only part of the story. Electrodes, nozzles, swirl rings, and shield cups wear out with regular use and need ongoing replacement. First-time buyers underestimate this cost more than any other.
Cheaper machines sometimes use proprietary consumables that cost more per piece and are harder to find. More established brands often have consumables stocked by multiple third-party manufacturers, which keeps ongoing costs down. Before you buy, search for the specific consumable part numbers a machine uses. Check their price and availability. A machine that’s $150 cheaper upfront can end up costing more over a year of regular cutting, if its tips and electrodes run $8 each instead of $3.
This is where cut quality and cost meet directly. Worn consumables are one of the most common causes of a suddenly rough or beveled edge on a machine that was cutting cleanly a week earlier. Budget for regular consumable replacement instead of waiting until the cut visibly degrades. It’s one of the simplest ways to keep edges consistently clean.
Consider CNC Compatibility if You Plan to Automate
Think you might add a CNC plasma table down the road? Decide this at purchase time. Not every handheld plasma cutter converts to a CNC-driven torch, and retrofitting one that wasn’t built for it costs far more than buying CNC-ready from the start.
CNC-compatible plasma cutters typically include, or offer as an add-on, a torch height control interface, an arc voltage output signal for THC systems, and a non-contact pilot arc. Contact-start torches generally don’t suit automated cutting, since the touch-and-retract start sequence doesn’t translate well to a machine-controlled torch. If automation is even a “maybe someday” for your shop, pay slightly more now for a machine explicitly listed as CNC-capable. Don’t assume you can adapt a purely handheld unit later.
Frequently Asked Questions
What amperage plasma cutter do I need for 1/4-inch steel?
A machine in the 40-50 amp range will comfortably clean-cut 1/4-inch mild steel with good edge quality. Go slightly higher, into the 50-60 amp range, for headroom. That way you’re not running the machine at its rated ceiling on every cut.
Why is my plasma cutter leaving a rough or beveled edge?
The most common causes are worn consumables, low air pressure or volume, or a cut speed that’s too slow or too fast for the amperage setting. Check your consumables first, since that’s the cheapest and fastest thing to rule out. Then confirm your compressor meets the machine’s required CFM at operating pressure.
Is a 110V or 220V plasma cutter better for a home shop?
It depends on your typical material thickness and what power you have available. A 110V machine works fine if you mostly cut thinner metal and don’t have a 220V circuit. A dual-voltage machine gives you both options without locking you into either limit.
Do more expensive plasma cutters really cut cleaner?
Not automatically. A correctly sized, well-maintained mid-range machine will often out-cut an oversized or poorly maintained expensive one. Price differences usually come from duty cycle, build quality, consumable availability, and features like CNC compatibility, not raw cut quality at a given thickness.
How often should I replace plasma cutter consumables?
It depends on usage, but watch for a rougher edge, more visible dross, or a wandering arc rather than following a fixed schedule. Heavy daily users often replace tips and electrodes every few hours of arc-on time. Occasional hobby use can stretch consumables over several months.
Conclusion
Picking the best plasma cutter for clean metal cuts comes down to matching the machine to your actual work. Get enough amperage for your typical material thickness, with some headroom. Choose a duty cycle that won’t leave you thermally shutting down mid-cut. Make sure your air supply meets the machine’s real requirements. And take a clear-eyed look at what consumables will cost you over time. Nail those fundamentals before you get distracted by brand names or extra features. Clean, consistent cuts become a lot less about luck, and a lot more about having the right tool set up correctly for the job in front of you.