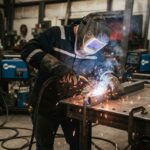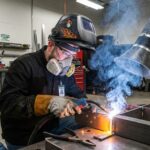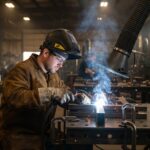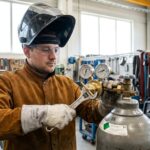
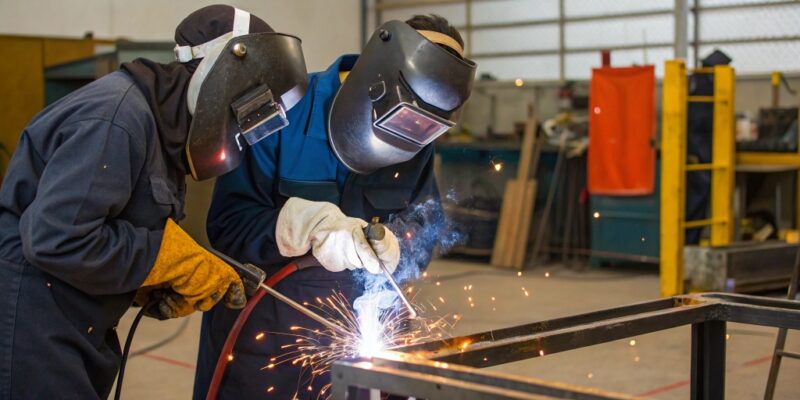

Welding is the process of joining metals by melting them together using heat, pressure, or both. Once cooled, the fused metals form a strong, permanent bond. It’s widely used in construction, automotive repair, shipbuilding, and fabrication workshops.
If you’re starting out, think of welding as controlled metal melting. Mastery comes from understanding heat control, material behavior, and steady hand coordination.
There are several welding methods, but beginners typically start with simpler, more forgiving techniques like MIG or Stick welding.
Types of Welding Processes
Arc Welding (Stick / SMAW)
Uses an electric current and a consumable electrode. Affordable and works well outdoors, even in windy conditions.
MIG Welding (GMAW)
A beginner-friendly process using a wire feed and shielding gas. Ideal for clean, quick welds.
TIG Welding (GTAW)
Precision welding using a non-consumable tungsten electrode. Produces high-quality welds but requires more skill.
Gas Welding (Oxy-Acetylene)
An older method using flame heat. Less common today but still useful for repairs.
Beginner recommendation:
Start with MIG welding for ease or Stick welding for versatility.
Welding Safety Basics
Safety is non-negotiable. Welding exposes you to extreme heat, UV radiation, and toxic fumes.
Essential PPE:
- Auto-darkening welding helmet
- Heavy-duty gloves
- Flame-resistant clothing
- Steel-toe boots
Additional precautions:
- Ensure proper ventilation to reduce fume exposure
- Keep a fire extinguisher nearby
- Avoid wet conditions (electrical hazard)
- Remove flammable materials from the area
Tools and Equipment Needed
Here’s a basic beginner welding kit:
- Welding machine (MIG or Stick)
- Electrodes or filler wire
- Ground clamp and cables
- Chipping hammer and a wire brush
- Angle grinder
- Workbench with clamps
💡 Tip: Don’t overspend initially—start with reliable entry-level equipment and upgrade later.
Understanding Welding Materials
Common Metals:
- Mild steel – best for beginners
- Stainless steel – corrosion-resistant but trickier
- Aluminum – lightweight but requires precision
Key considerations:
- Thicker metals need higher heat
- Always match filler material with base metal
- Clean metal = better weld quality
Dirty or rusty surfaces cause weak welds and defects like porosity.
Setting Up Your Welding Machine
Proper setup determines 50% of your success.
Key adjustments:
- Voltage/current: Controls heat level
- Wire feed speed (MIG): Affects weld consistency
- Polarity: Critical for correct arc behavior
- Gas setup:
- For MIG mild steel: CO₂ or Argon mix (best gas for MIG welding mild steel)
⚠️ Always check your machine manual for recommended settings.
Preparing the Metal
Preparation is often overlooked but crucial.
Steps:
- Remove rust, oil, and paint
- Cut pieces accurately
- Clamp securely
Common joint types:
- Butt joint
- Lap joint
- T-joint
- Corner joint
Clean joints ensure strong penetration and fewer defects.
Basic Welding Techniques (Step-by-Step)
Step 1: Position Yourself Correctly
Maintain a stable stance. Hold the torch/electrode at a 10–15° angle.
Step 2: Striking the Arc
- Stick: Tap or scratch method
- MIG: Pull trigger to initiate arc
Step 3: Controlling the Weld Pool
Watch the molten metal puddle—not the arc. Keep it consistent.
Step 4: Travel and Movement
- Move steadily in a straight line
- Try simple patterns (zigzag or circular)
Step 5: Finishing the Weld
Fill the crater before stopping to avoid cracks.
Inspecting Your Weld
After welding, evaluate your work.
Good weld signs:
- Uniform bead
- Smooth ripples
- Proper penetration
Common defects:
- Porosity (air bubbles)
- Cracks
- Undercut
- Lack of fusion
Learning to identify these early speeds up improvement.
Post-Weld Cleanup
- Remove slag (Stick welding)
- Grind rough edges
- Clean the weld area
A clean finish improves both strength and appearance.
Common Beginner Mistakes
Avoid these frequent errors:
- Incorrect machine settings
- Moving too fast or too slow
- Wrong torch angle
- Skipping surface cleaning
Even small mistakes can weaken the weld significantly.
Practice Exercises for Beginners
Start simple and build muscle memory:
- Straight bead on a flat plate
- Butt joint practice
- Lap joint practice
- Basic vertical welding
These exercises form the foundation for real projects.
Tips to Improve Faster
- Practice regularly (short daily sessions work best)
- Start with mild steel
- Focus on consistency, not speed
- Learn to “read the puddle”
💡 If you’re exploring DIY welding projects for beginners step by step, begin with small items like brackets or frames.
Conclusion
Mastering welding basics for beginners is about repetition, observation, and safety. Start with the right process (MIG or Stick), prepare your materials properly, and practice fundamental techniques consistently.
As you progress, explore advanced skills like how to weld stainless steel without warping or precision TIG welding.
Beginner Welding Checklist
- Wear full PPE
- Clean metal thoroughly
- Set the correct voltage/current
- Maintain steady hand movement
- Inspect the weld after completion
- Practice consistently
FAQs
How long does it take to learn welding basics?
Most beginners can grasp basic welding in 1–2 weeks with daily practice, but proficiency takes months.
What is the easiest welding method for beginners?
MIG welding is generally the easiest due to its automatic wire feed and smoother learning curve.
Can I learn welding at home?
Yes, with proper safety precautions, ventilation, and basic equipment.
What metal should beginners start with?
Mild steel is the best starting material due to its forgiving nature.
Why do my welds look messy?
Likely causes include incorrect settings, poor technique, or dirty metal.