
To start MIG welding as a beginner, you need a MIG welder, shielding gas, the right wire for your metal, proper safety gear, and clean base metal; then you run a bead using the correct voltage, wire speed, and travel technique. MIG welding (Metal Inert Gas welding, technically called GMAW) is widely considered the easiest welding process to learn because the machine feeds the wire automatically, so you don’t have to juggle a filler rod as you would with stick or TIG welding.
That said, “easy to start” doesn’t mean “easy to master.” Most beginners can lay down a passable bead within their first hour, but clean, consistent welds take practice, proper settings, and an understanding of what your machine is actually doing. This guide walks you through everything from the gear you need to your first practice weld, plus a settings reference and the mistakes almost every new welder makes.
Whether you’re picking up welding as a hobby, prepping for a trade career, or fixing something in your garage, this article gives you a realistic, step-by-step path to your first solid weld.
What You Need Before You Start MIG Welding
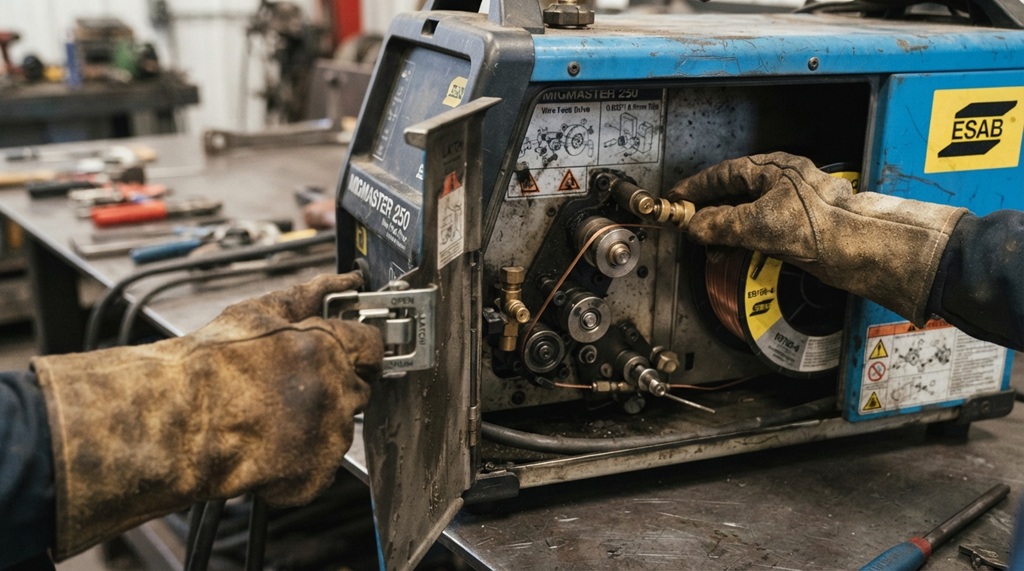
You need five things before striking your first arc: a MIG welder, shielding gas, the correct wire, proper safety gear, and clean metal to practice on. Skipping any one of these will make learning harder than it needs to be.
The Welder Itself
A basic 120V MIG welder is enough to start on thin steel (up to roughly 3/16 inch), while a 240V machine gives you more power for thicker material. Entry-level machines from brands like Hobart, Lincoln Electric, and Vulcan are common recommendations in the welding community because parts and support are easy to find, and they’re forgiving for beginners.
Shielding Gas and Wire
MIG welding uses gas to protect the weld puddle from oxygen and contamination in the air. For beginners working with mild steel, a 75/25 mix of argon and CO2 is the standard choice because it gives a cleaner, more stable arc than straight CO2. You’ll also need solid MIG wire (ER70S-6 is the go-to for mild steel) in a diameter that matches your machine and material thickness; 0.030 inch is a common all-around size for beginners.
If you don’t want to deal with gas tanks yet, flux-core wire is a gas-less alternative that works well outdoors or in windy conditions, though it produces more spatter and smoke.
Safety Gear
At minimum, you need an auto-darkening welding helmet, welding gloves, and flame-resistant clothing (no synthetic fabrics, which can melt onto skin). A well-ventilated space or a fume extractor is also essential;l welding fumes contain particles that are genuinely harmful to breathe in over time, not just an inconvenience.
Practice Material
Scrap mild steel, ideally 1/8 to 1/4 inch thick, is the best surface to learn on. It’s forgiving, cheap, and widely available at metal supply stores or scrap yards.
Master Your MIG Welder Setup for Flawless Welds
Proper machine setup is the foundation of a successful weld; even perfect torch technique cannot compensate for improper polarity, incorrect shielding gas flow, loose wire tension, or misaligned voltage and wire-feed settings. While traditional Stick welding uses consumable electrode rods as detailed in the difference between 6010, 6011, 7014, and 7018 welding rods, MIG welding relies on a continuously fed solid wire spool shielded by gas. Fine-tuning these mechanical and electrical variables to match your metal’s exact thickness before striking an arc is the ultimate secret to achieving clean, strong, and spatter-free beads every time.
Check Your Polarity
Most MIG welding with solid wire uses DCEP (direct current, electrode positive), meaning the welding gun cable connects to the positive terminal inside the machine. Flux-core wire often runs on DCEN (electrode negative); check your wire’s packaging, because using the wrong polarity causes poor penetration and excessive spatter even if everything else is correct.
Set Your Gas Flow
A flow rate of 20-25 cubic feet per hour (CFH) is a standard starting point for beginners welding indoors. Too little gas leaves your weld porous and pitted; too much can actually suck in outside air and cause the same problem, so more isn’t always better.
Load the Wire and Adjust Tension
Feed the wire through the drive rollers and liner until it comes out the tip of the gun, then set the roller tension so the wire feeds smoothly without slipping or being crushed flat. A quick way to check: the tension is right when the wire feeds consistently, but you can still stop it by lightly pinching it with a gloved hand.
Dial In Voltage and Wire Speed
This is where most beginners get stuck, because voltage and wire speed work together, not independently. Higher voltage makes the arc hotter and the puddle wider; higher wire speed feeds more filler metal and increases amperage. Most modern machines have a chart on the inside door that gives starting points based on metal thickness; always start there, then fine-tune by ear and by looking at the bead (more on ideal settings below).
Step-by-Step: How to Make Your First MIG Weld
Once your machine is set up, the actual welding process comes down to five repeatable steps: prep the metal, get into position, strike the arc, run a steady bead, and inspect your work.
- Clean the metal. Grind or wire-brush away rust, paint, mill scale, and oil from the joint area. Contaminants are one of the biggest causes of weak, porous welds for beginners.
- Position yourself and the gun. Sit or stand so you have a stable, comfortable angle. Hold the gun at roughly a 10-15 degree drag angle (tip angled slightly back, away from the direction you’re moving) for most flat welds.
- Strike the arc. Pull the trigger and touch the wire to the metal; the arc should start almost instantly since the machine is feeding wire automatically. Don’t hesitate; a confident start prevents the wire from sticking to the base metal.
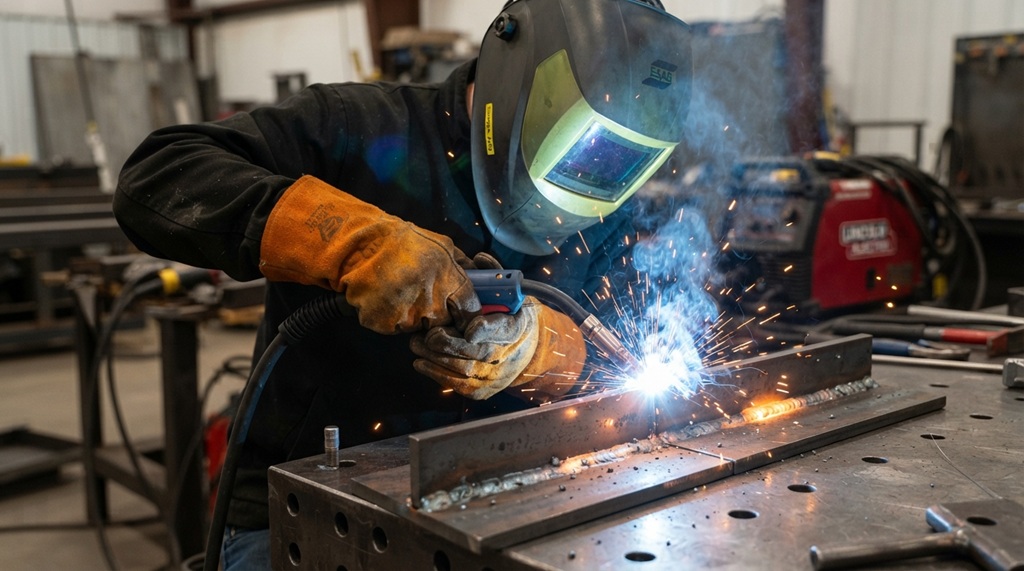
- Run a steady bead. Move the gun in a smooth, consistent line (or small weave for wider joints) at a steady travel speed. The puddle should look shiny and slightly wider than the wire, with a consistent hiss-and-crackle sound often described as sounding like frying bacon.
- Inspect the weld. Once it cools, check for a uniform bead with consistent ripples, no big gaps, and no excessive spatter. A good first weld doesn’t need to look perfect; it needs to look consistent.
MIG Welding Settings Chart for Beginners
Most beginner guides tell you to “adjust until it looks right,” but that’s frustrating advice when you don’t yet know what “right” looks like. Here’s a practical starting-point reference for 0.030-inch ER70S-6 wire on mild steel with 75/25 ga;s treat these as a launchpad, not a rulebook, since every machine and wire brand varies slightly.
| Metal Thickness | Voltage (approx.) | Wire Speed (approx.) |
|---|---|---|
| 18-gauge (~1/16 in) | 15-16V | 100-150 IPM |
| 14-gauge (~3/32 in) | 17-18V | 150-200 IPM |
| 1/8 inch | 19-20V | 200-250 IPM |
| 3/16 inch | 20-22V | 250-300 IPM |
| 1/4 inch | 22-24V | 275-325 IPM |
If your weld sounds like a harsh, popping snap and throws heavy spatter, your voltage is likely too low relative to your wire speed. If the puddle looks like it’s boiling and burning through the metal, your voltage is too high. Adjusting in small increments, one setting at a time,e makes it much easier to identify what’s actually causing a problem.
Common Beginner Mistakes and How to Fix Them
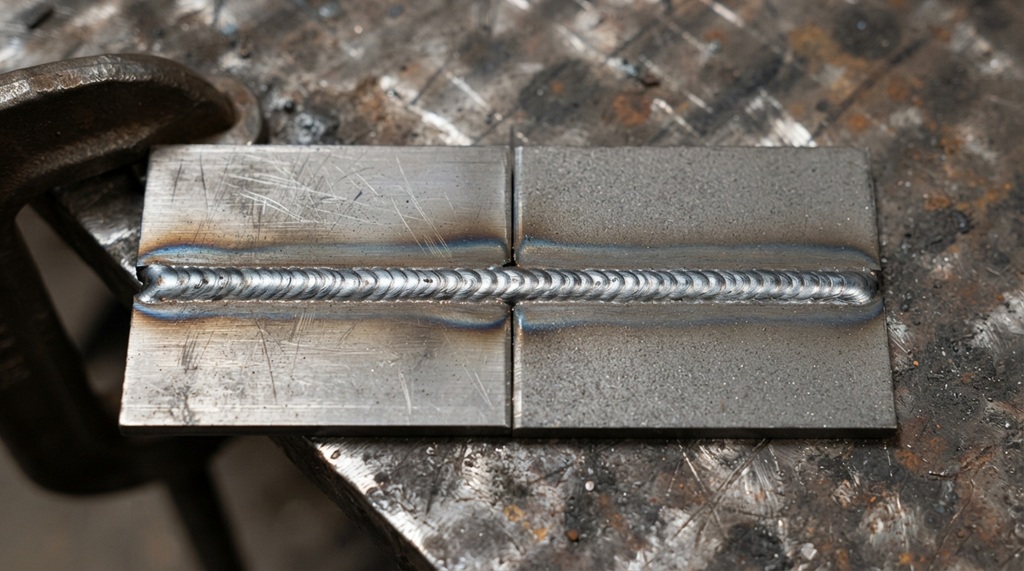
Most new MIG welders run into the same handful of problems, and nearly all of them trace back to settings, technique, or prep rather than a bad machine.
Excessive Spatter
This usually means your voltage is too low for your wire speed, or your work clamp isn’t making solid contact with clean metal. Try increasing voltage slightly and double-check your ground clamp connection.
Weak, Porous-Looking Welds
Porosity (small holes or pits in the weld) is almost always caused by contamination, rust, oil, or paint on the metal or insufficient shielding gas coverage. Clean your material thoroughly and check your gas flow and for any leaks in the hose.
Wire Burning Back Into the Tip
If the wire melts back and fuses to the contact tip instead of feeding smoothly, your wire speed is likely too slow for your voltage, or your drive roller tension is too loose. Increase wire speed slightly and recheck tension.
Inconsistent Bead Width or Height
This typically comes from inconsistent travel speed or gun angle rather than a machine setting. Practice keeping a steady hand speed on scrap metal before worrying about actujointnts consistency comes from repetition, not from finding a “magic” setting.
How to Practice and Improve Your Technique
The fastest way to improve is to run straight beads on flat scrap steel repeatedly before attempting actual joints, focusing on one variable at a time angle, speed, or distance instead of trying to fix everything at once.
Start with stringer beads (a straight line with no weaving) on a flat plate until you can produce a consistent, even ripple pattern from start to finish. Once that feels natural, move to a weave pattern for wider coverage, then progress to a simple butt joint (two flat pieces edge to edge) and a T-joint (one piece standing perpendicular on another), which are the two joint types you’ll use in most basic projects.
A tip that doesn’t get mentioned often enough: record your welds on your phone from a side angle. Watching the puddle and your travel speed back in slow motion shows you things you can’t notice in the moment behind a helmet, like drifting angle or inconsistent speed,eed far faster than trying to self-correct in real time.
Frequently Asked Questions
Is MIG welding easy to learn for a complete beginner?
Yes, MIG welding is generally considered the most beginner-friendly welding process because the machine feeds the filler wire automatically. Most beginners can produce a decent-looking bead within their first practice session, though consistent, strong welds still take several weeks of regular practice.
Do I need gas for MIG welding, or can I skip it?
You can skip gas by using flux-core wire instead of solid wire, which shields the weld with flux rather than external gas. Flux-core is more forgiving outdoors or in drafty spaces but tends to produce more spatter and smoke than gas-shielded MIG welding.
What size MIG welder should a beginner buy?
A 120V machine is enough for hobby use and thin metal up to about 3/16 inch, while a 240V machine handles thicker material and is a better long-term investment if you plan to weld anything structural. Many beginners start with a dual-voltage machine so they aren’t limited later.
How do I know if my MIG welding settings are correct?
Listen for a steady, consistent sizzling or crackling sound (similar to frying bacon) and look for a smooth, evenly rippled bead with minimal spatter. Harsh popping usually means your voltage is too low, while a puddle that looks like it’s boiling or burning through means it’s too high.
How long does it take to get good at MIG welding?
Most people can weld safely and produce usable beads within a few weeks of regular practice, but developing real proficiency for structural or professional work typically takes several months of consistent hands-on time. Welding is a physical skill, so time spent actually welding matters more than reading or watching videos alone.
Conclusion
Starting MIG welding comes down to getting four things right: the correct equipment and safety gear, a properly set-up machine with matched voltage and wire speed, clean metal to weld on, and steady, repeated practice. It’s a process built for beginners; the machine handles the wire feed for you, but going in with the right settings and knowing what mistakes to expect will save you a lot of frustrating trial and error.
Start with simple stringer beads on scrap steel, use the settings chart above as your baseline, and don’t get discouraged by early spatter or uneven beads; every welder in the community started exactly where you are now.