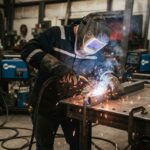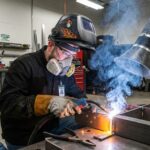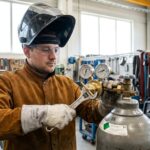
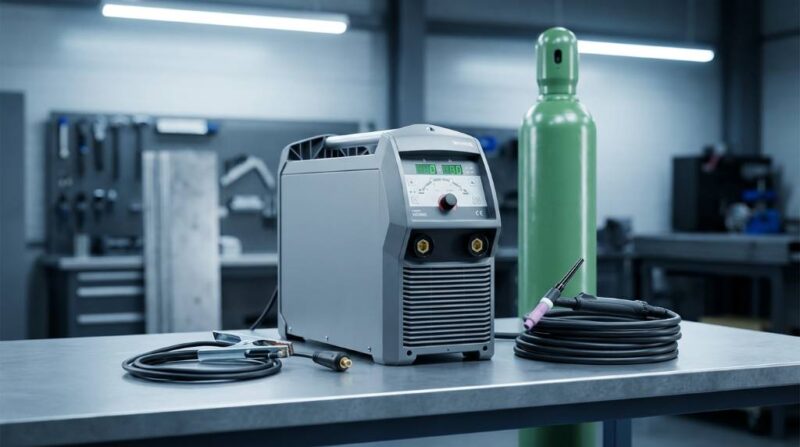

TIG welding delivers precision and clean results for metalwork projects. Over 60 percent of professional welders prefer TIG for its control and versatility. Setting up your TIG welding machine correctly ensures strong welds and avoids common mistakes. This guide will walk you through each step to achieve flawless results every time.
Understanding the Basics of TIG Welding
TIG welding uses a tungsten electrode to create an arc between the metal and the electrode. This method produces high-quality welds with minimal spatter. It is ideal for thin metals like aluminum, stainless steel, and copper.
The process requires a shielding gas, usually argon, to protect the weld pool from contamination. TIG welding allows for greater control over the heat input and filler material. This makes it a favorite for projects requiring precision and aesthetics.
Unlike MIG welding, TIG does not use a consumable electrode. Instead, it relies on a non-consumable tungsten electrode. This difference allows for cleaner and more precise welds.
TIG welding is often used in industries like aerospace, automotive, and art. Its ability to weld exotic metals makes it highly versatile. Understanding these basics helps you appreciate the importance of proper setup.
Essential Tools and Equipment for TIG Welding
Before setting up your TIG welding machine, gather all necessary tools and equipment. You will need a TIG torch, tungsten electrodes, and a shielding gas cylinder. A filler rod matching your base metal is also essential.
Safety gear is non-negotiable in welding. Always wear a welding helmet, gloves, and protective clothing. A well-ventilated workspace or a fume extractor is crucial to avoid inhaling harmful gases.
A reliable power source is the heart of your TIG welding setup. Ensure your machine supports both AC and DC outputs for versatility. AC is typically used for aluminum, while DC is better for steel and stainless steel.
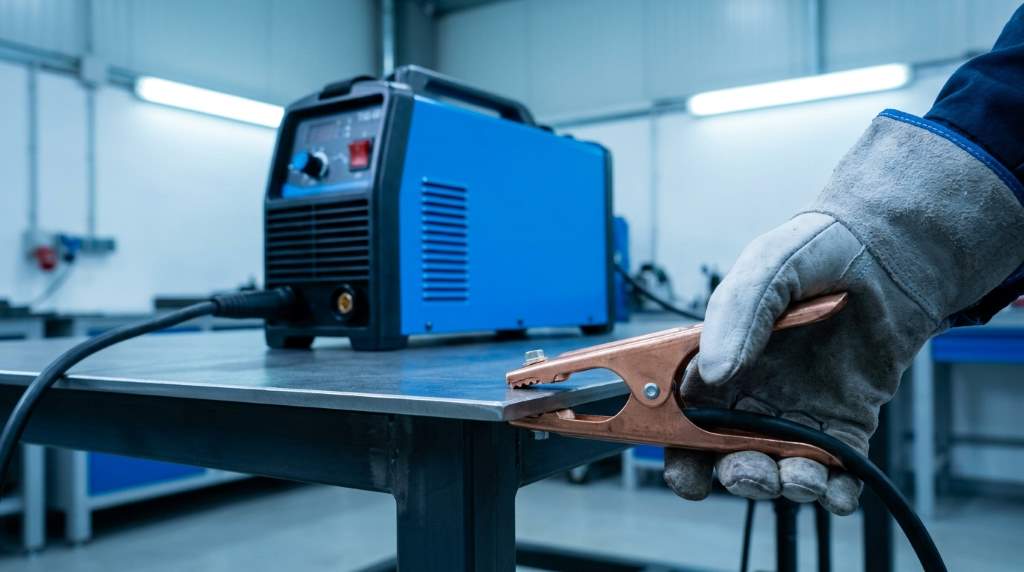
Additional tools like a wire brush, clamp, and amperage chart can streamline your workflow. Having everything ready before you start saves time and reduces frustration. Proper preparation sets the stage for a smooth welding process.
Step-by-Step Guide to Setting Up Your TIG Welding Machine
Step 1: Choose the Right Tungsten Electrode
Selecting the correct tungsten electrode is critical for TIG welding success. Thoriated tungsten is a popular choice for its durability and high heat resistance. It is ideal for welding steel and stainless steel.
For aluminum, pure tungsten or zirconiated tungsten works best. These electrodes handle the higher heat required for aluminum welding. Always ensure your electrode is sharp and free from contaminants.
The size of the electrode depends on the amperage range of your project. Thicker electrodes handle higher amperages, while thinner ones are better for lower settings. Matching the electrode to your project ensures optimal performance.
Grinding the tungsten to a fine point improves arc stability and control. Use a dedicated tungsten grinder to avoid contamination. A well-prepared electrode makes a significant difference in weld quality.
Step 2: Set Up the Shielding Gas
Shielding gas protects the weld pool from atmospheric contamination. Argon is the most commonly used gas for TIG welding due to its versatility. For aluminum, a mix of argon and helium can improve heat transfer.
Ensure your gas cylinder is securely fastened and the regulator is properly attached. Set the gas flow rate between 15 to 25 cubic feet per hour (CFH). Too little gas can lead to porosity, while too much can cause turbulence.
Check for leaks in the gas line before starting your weld. A simple soap and water test can reveal any issues. Proper gas flow is essential for clean and strong welds.
The type of gas and flow rate can vary based on the metal and joint type. Always refer to your machine’s manual for specific recommendations. Correct gas setup prevents common welding defects.
Step 3: Configure the Power Source
TIG welding machines can operate on AC, DC, or both. AC is used for aluminum and magnesium, while DC is preferred for steel and stainless steel. Select the correct polarity based on your project requirements.
Set the amperage according to the thickness of the metal and the electrode size. Thinner metals require lower amperages, while thicker materials need higher settings. Refer to an amperage chart for guidance.
Most modern TIG welders have adjustable settings for amperage and gas flow. Take time to familiarize yourself with these controls. Proper configuration ensures consistent and high-quality welds.
If your machine has a foot pedal or remote control, use it to adjust amperage during welding. This feature allows for better control over heat input. Mastering these settings improves your welding precision.
Step 4: Prepare the Metal
Clean the metal surface thoroughly before welding to remove dirt, oil, or oxide layers. Use a wire brush or grinder for this purpose. Clean metal ensures a strong and clean weld.
For aluminum, use a dedicated aluminum brush to avoid contamination. Stainless steel may require a solvent to remove oils and grease. Proper cleaning prevents defects like porosity and weak joints.
Clamp the metal securely to prevent movement during welding. Proper positioning ensures consistent bead placement. A stable workpiece makes the welding process smoother and more controlled.
Preheating the metal can be beneficial for thicker materials. This reduces thermal stress and improves weld penetration. Follow industry guidelines for preheating temperatures.
Step 5: Set Up the TIG Torch
Assemble the TIG torch according to the manufacturer’s instructions. Ensure the collet, collet body, and nozzle are correctly installed. A properly assembled torch improves control and stability.
Insert the tungsten electrode into the collet and tighten it securely. The electrode should extend slightly beyond the nozzle for optimal arc performance. Check the torch for any loose connections before starting.
The nozzle size affects gas coverage and visibility. Larger nozzles provide better shielding for outdoor welding. Smaller nozzles offer better visibility for precision work.
Test the torch by striking an arc on a scrap piece of metal. Adjust the settings as needed to achieve a stable arc. A well-set torch ensures a smooth and controlled welding process.
Step 6: Practice Proper Torch and Filler Rod Techniques
Hold the TIG torch at a 10 to 15-degree angle to the workpiece. Maintain a consistent distance between the electrode and the metal. This angle and distance ensure proper heat transfer and gas coverage.
Use your non-dominant hand to hold the filler rod. Dip the rod into the weld pool at the leading edge of the puddle. This technique ensures proper fusion and a clean bead appearance.
Move the torch in a circular or back-and-forth motion to control the heat input. Practice on scrap metal to develop a steady hand and consistent speed. Proper technique is key to achieving high-quality welds.
Avoid touching the tungsten to the filler rod or workpiece. This can contaminate the electrode and lead to arc instability. Maintaining a clean and steady arc improves weld quality.
Unique Tips for TIG Welding in Humid Climates
Welding in humid climates presents unique challenges. Moisture in the air can lead to porosity and weak welds. Using a dehumidifier in your workspace can help control humidity levels.
Store your shielding gas cylinders in a dry and well-ventilated area. Moisture can contaminate the gas and affect weld quality. Regularly check your gas lines for condensation.
Preheating the metal can help drive off moisture and improve weld quality. Use a moisture-resistant cover for your welding machine and equipment. Proper storage extends the life of your tools.
Consider using a gas lens in your TIG torch for better gas coverage in humid conditions. This accessory improves shielding and reduces the risk of contamination. Adapting to your environment ensures consistent results.
Common Mistakes to Avoid When Setting Up a TIG Welder
One common mistake is using the wrong type of tungsten for the metal. Always match the electrode to the material you are welding. Using the wrong electrode can lead to poor arc stability and weak welds.
Incorrect gas flow rates can cause porosity or turbulence in the weld pool. Always set the flow rate according to the manufacturer’s recommendations. Regularly check for gas leaks to ensure consistent shielding.
Poor metal preparation is another frequent issue. Dirty or oxidized metal surfaces lead to weak and inconsistent welds. Take the time to clean and prepare your metal thoroughly.
Ignoring the machine’s settings can result in subpar welds. Always refer to the manual and adjust the amperage and polarity accordingly. Proper setup prevents common welding defects.
Failing to practice proper torch and filler rod techniques can lead to inconsistent results. Dedicate time to hone your skills and develop a steady hand. Practice makes perfect in TIG welding.
Comparing TIG and MIG Welding Setups
TIG and MIG welding serve different purposes and require distinct setups. TIG welding offers greater precision and control, making it ideal for thin metals and exotic materials. MIG welding, on the other hand, is faster and easier for thicker metals.
The equipment for TIG welding includes a non-consumable tungsten electrode and a separate filler rod. MIG welding uses a consumable wire electrode that acts as both the arc source and filler material. This difference affects the setup and technique.
Shielding gas requirements also differ between the two processes. TIG welding typically uses pure argon, while MIG welding can use a mix of argon and carbon dioxide. The choice of gas depends on the metal and the desired weld characteristics.
TIG welding requires more skill and practice to master, while MIG welding is generally easier for beginners. Understanding these differences helps you choose the right process for your project. Each method has its advantages and applications.
For a detailed comparison, refer to a welding machines complete guide. This resource provides insights into the strengths and weaknesses of each welding process.
Safety Precautions for TIG Welding
Safety should always be a top priority in welding. Wear appropriate protective gear, including a welding helmet, gloves, and fire-resistant clothing. These items protect you from sparks, UV radiation, and heat.
Ensure your workspace is well-ventilated to avoid inhaling harmful fumes. Use a fume extractor if welding indoors or in confined spaces. Proper ventilation reduces the risk of respiratory issues.
Keep a fire extinguisher nearby in case of emergencies. Welding sparks can ignite flammable materials, so always be prepared. Regularly inspect your equipment for damage or wear.
Never weld near flammable liquids or gases. Store your gas cylinders securely and away from heat sources. Following these precautions ensures a safe and productive welding environment.
Advanced Techniques for Professional Results
Once you have mastered the basics, explore advanced TIG welding techniques. Pulse welding allows for better control over heat input and puddle size. This technique is particularly useful for thin metals and out-of-position welds.
Back purging is another advanced method used for welding stainless steel and other sensitive metals. It involves introducing shielding gas to the backside of the weld to prevent oxidation. This technique ensures clean and strong welds on both sides.
Experiment with different filler rods to achieve specific weld properties. Each filler material has unique characteristics that affect the strength, appearance, and corrosion resistance of the weld. Choosing the right filler rod enhances your results.
Practice welding in different positions, such as vertical, horizontal, and overhead. Each position requires adjustments in technique and settings. Mastering these skills expands your capabilities as a welder.
Conclusion
Setting up a TIG welding machine requires attention to detail and a thorough understanding of the process. From selecting the right electrode to configuring the power source, each step plays a crucial role in achieving high-quality welds. Proper setup ensures efficiency, safety, and consistency in your projects.
Whether you are a hobbyist or a professional, mastering TIG welding opens up a world of possibilities. The precision and control offered by this method make it a valuable skill in various industries. With practice and dedication, you can achieve flawless results every time.
Start by gathering the necessary tools and familiarizing yourself with the basics. Follow the step-by-step guide to set up your machine correctly. Avoid common mistakes and prioritize safety to create a productive and enjoyable welding experience.
Take your skills to the next level by exploring advanced techniques and adapting to different environments. TIG welding is a rewarding and versatile process that offers endless opportunities for creativity and innovation. Begin your journey today and experience the satisfaction of creating strong and beautiful welds.
FAQ
What is the best shielding gas for TIG welding aluminum?
Pure argon is the most common choice, but a mix of argon and helium can improve heat transfer for thicker aluminum.
How do I choose the right tungsten electrode for my project?
Match the electrode to your metal: thoriated for steel, pure or zirconiated for aluminum, and ceriated for general use.
Can I use the same TIG welding settings for steel and aluminum?
No, steel typically uses DC, while aluminum requires AC to clean the oxide layer and ensure proper fusion.
What is the ideal gas flow rate for TIG welding?
Set the flow rate between 15 to 25 CFH, depending on the metal and joint type.
How do I prevent tungsten contamination during TIG welding?
Avoid touching the tungsten to the filler rod or workpiece, and always use a clean and sharp electrode.