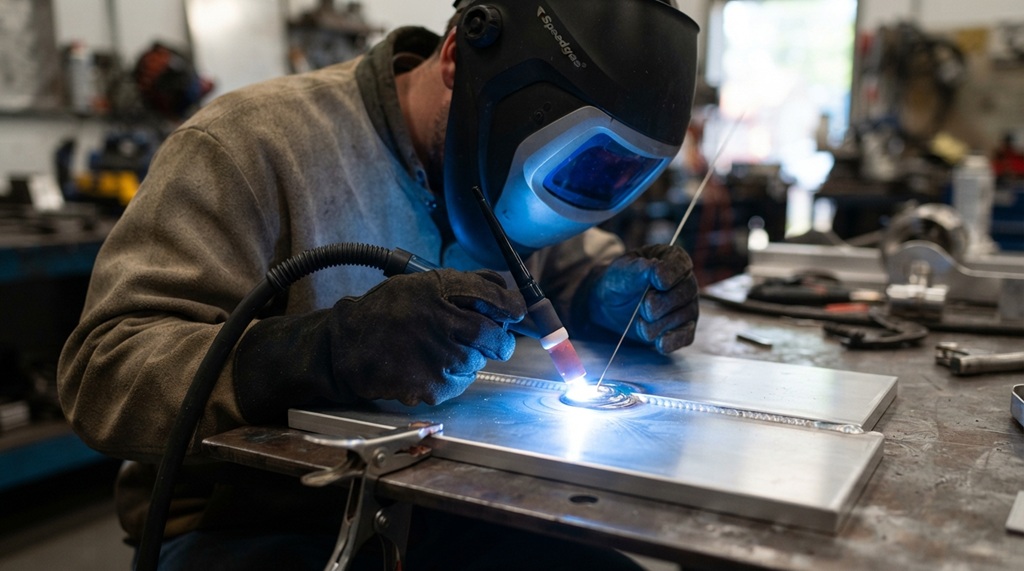

You learn TIG welding basics by mastering four things: torch control, filler rod feeding, foot pedal (or amperage) control, and a clean workpiece. Get these four right, and clean joints follow naturally. TIG (Tungsten Inert Gas) welding rewards patience more than raw skill, so beginners who slow down usually improve faster than beginners who rush.
This guide breaks the process into clear steps. You’ll learn what equipment you need, how to set up your machine, the hand movements that produce clean welds, and the mistakes that ruin most beginner attempts. By the end, you’ll have a practical roadmap for your first real welds.
TIG welding has a steeper learning curve than MIG or stick welding. But it also produces the cleanest, strongest joints of any common welding process. That’s why it’s the standard for aerospace parts, motorsport fabrication, and food-grade stainless steel work.
What Makes TIG Welding Different From Other Welding Types
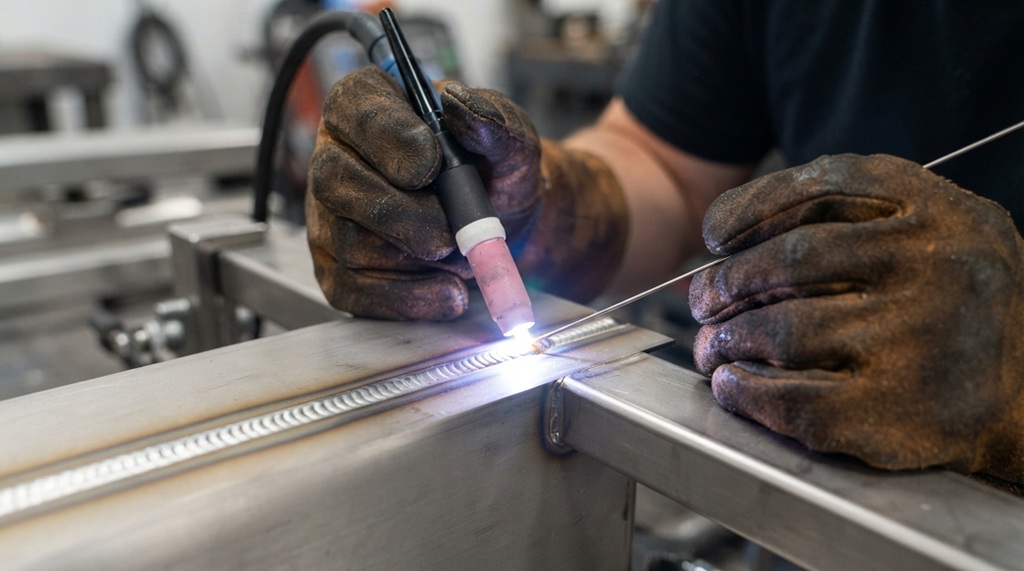
TIG welding uses a non-consumable tungsten electrode to create an arc, while you add filler metal separately with your other hand. This separation of “arc control” and “filler control” is what makes TIG both harder to learn and more precise than MIG or stick welding.
In MIG welding, the wire feeds automatically and doubles as both the arc source and the filler. In TIG welding, you control the torch with one hand and feed the rod with the other, much like gas welding with an oxy-acetylene torch. This gives you far more control over heat input and puddle shape, but it also means both hands need to work in coordination.
The shielding gas, almost always pure argon, protects the weld pool from oxygen and contamination. This is why TIG welds look so clean compared to stick welds, which produce slag, or flux-core MIG welds, which can leave spatter.
Mastering Essential Gear for TIG Welding Success
Before striking your first arc, securing the proper setup is non-negotiable for both safety and weld quality. Mastering TIG welding requires five fundamental components: a reliable TIG welder, an appropriately prepped tungsten electrode, high-grade filler rod, pure argon shield gas paired with a precise regulator, and comprehensive personal protective equipment (PPE)—skipping even one compromises your control and safety. However, if you are completely new to fusion joining and find torch control intimidating, building foundational muscle memory through wire-fed processes like start MIG welding for beginners step by step offers an excellent way to master joint setup before transitioning to two-handed TIG techniques.
The Welding Machine
Look for a machine with adjustable amperage, high-frequency start (for cleaner arc starts), and a foot pedal or torch-mounted amperage control. Many budget inverter-style TIG machines now include these features and work well for beginners learning on thin steel or aluminum.
Tungsten Electrodes
Use 2% ceriated or lanthanated tungsten for general-purpose steel and stainless steel work. These grades replaced thoriated tungsten in most shops because they’re not radioactive and they perform well across a wide range of materials. Grind the tip to a sharp point for steel and a balled tip for aluminum.
Filler Rod
Match your filler rod to your base metal. ER70S-2 works for mild steel, ER4043 or ER5356 works for aluminum, and ER308L works for stainless steel. Keep a variety pack on hand while you’re still learning which diameter suits which material thickness.
Gas and Regulator
Set your argon flow between 15 and 20 cubic feet per hour for most indoor welding. Too little gas causes contamination; too much can actually suck in outside air and cause the same problem, so more isn’t always better.
Personal Protective Equipment
A proper auto-darkening welding helmet, leather gloves thin enough for dexterity, and flame-resistant clothing are non-negotiable. TIG welding produces intense UV light even at low amperage, so skipping eye and skin protection is never worth the risk.
Setting Up Your Machine and Workpiece Correctly
Correct setup solves more welding problems than any technique adjustment ever will. Before you strike an arc, check your polarity, tungsten grind, gas flow, and metal cleanliness.
Set your machine to DCEN (direct current, electrode negative) for steel and stainless steel. For aluminum, use AC mode, since the cleaning action removes the oxide layer that forms naturally on aluminum’s surface. Getting this setting wrong is one of the most common beginner mistakes; it either won’t strike an arc properly or will burn through the tungsten fast.
Clean your base metal thoroughly. Any oil, rust, paint, or mill scale will contaminate your weld pool and cause porosity tiny holes in the finished weld. A stainless steel wire brush (dedicated only to the metal type you’re welding) and a solvent wipe should be your standard pre-weld routine.
Grind your tungsten to a clean point, free of contamination or black residue. A dirty or improperly ground tungsten causes an unstable arc that wanders and produces inconsistent welds, no matter how good your hand technique is.
Learning the Core Torch and Rod Technique
Good TIG technique comes down to three coordinated movements: maintaining a consistent arc length, dipping the filler rod at a steady rhythm, and controlling your travel speed. Practice each movement separately before combining them.
Holding the Torch and Arc Length
Hold the torch at roughly a 15-degree angle from vertical, pointed slightly in the direction you’re traveling. Keep your arc length short, about the width of the tungsten diameter, since a longer arc widens the heat spread and makes the puddle harder to control.
Feeding the Filler Rod
Dip the rod into the leading edge of the puddle, not the arc itself, then pull it back out without lifting the torch. This “dip and retreat” rhythm is what creates the classic stacked-dime appearance of a clean TIG weld. Beginners often dip too much rod at once, which cools the puddle and causes uneven ripples.
Controlling Travel Speed
Move slowly and steadily along the joint, watching the puddle size rather than the arc itself. If the puddle grows too wide, you’re moving too slowly, or your amperage is too high; if it stays too small to fuse properly, speed up your dips or slow your travel.
Common Beginner Mistakes and How to Fix Them
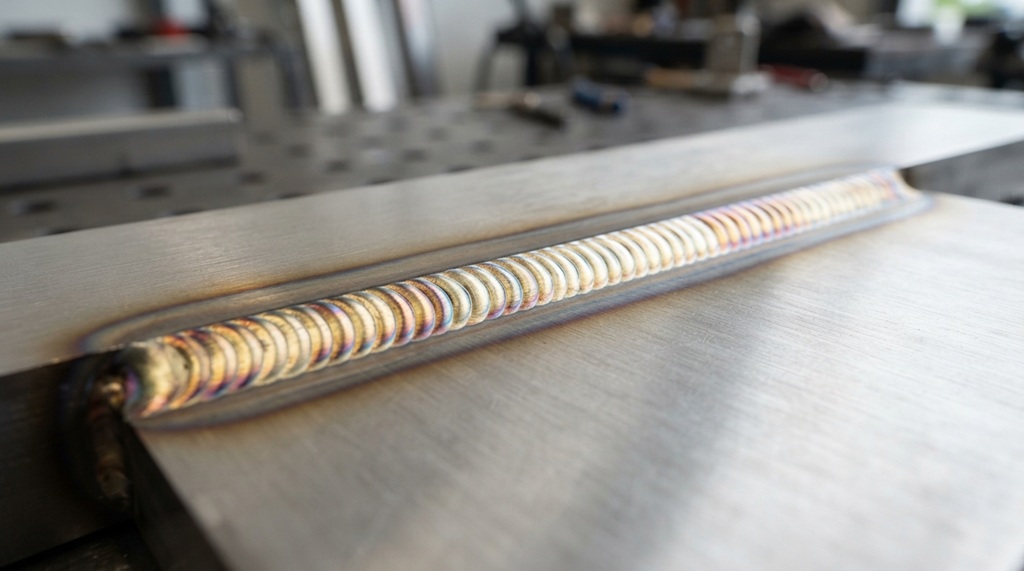
Most beginner TIG problems trace back to five root causes: dirty metal, wrong polarity, arc length that’s too long, inconsistent rod dipping, and rushing the weld. Fixing these five issues resolves the majority of quality problems you’ll run into.
Tungsten contamination happens when the tip touches the filler rod or puddle. If your tungsten turns black or forms a ball on steel, stop, grind it clean, and restart. A contaminated tungsten produces an erratic arc that no amount of hand skill can fix.
Inconsistent bead width usually comes from uneven travel speed or an inconsistent arc length. Practice moving your torch hand at a metronome-steady pace on scrap metal before attempting a real joint.
Porosity (small holes in the weld) almost always points to gas coverage problems. Check for gas leaks in your hose fittings, confirm your flow rate, and make sure you’re not welding in a drafty area, since wind or fans can blow the shielding gas away from the puddle.
One insight that often gets skipped in beginner guides: practice your foot pedal control separately from your torch technique, before you ever strike an arc on real metal. Sit with the pedal, watch the amperage meter on your machine, and practice smooth ramps up and down without touching the torch to anything. This isolates the one variable heat control that trips up more new welders than bead technique itself, because most people try to learn pedal control and hand-eye coordination at the same time and end up frustrated by both.
How to Practice TIG Welding Effectively
The fastest way to build TIG welding skill is structured repetition on scrap metal, starting with straight beads before moving to actual joints. Skipping straight-line practice to jump straight into joints is the single biggest reason beginners stay frustrated longer than necessary.
Start with flat, straight beads on scrap mild steel with no filler rod at all, just melting the base metal into a line. This builds torch control and arc-length consistency without the added complexity of feeding a rod. Once that feels steady, add filler rod dipping to the same straight-line practice.
After straight beads, move to a simple butt joint on flat scrap pieces, then a lap joint, then a fillet joint on a T-joint setup. Each joint type introduces a new challenge in puddle control, so working through them in order builds skill progressively rather than overwhelming you all at once.
Set aside short, frequent practice sessions rather than long, infrequent ones. Welding is a physical skill, similar to learning an instrument, and your hands build muscle memory faster with regular short sessions than with occasional marathon sessions.
Frequently Asked Questions
How long does it take to learn TIG welding basics?
Most beginners can produce a reasonably clean, consistent bead within 20 to 40 hours of focused practice. Reaching a professional-quality standard, especially on materials like aluminum or thin-gauge stainless steel, typically takes several months of regular welding.
Is TIG welding harder to learn than MIG welding?
Yes, TIG welding generally has a steeper learning curve because it requires coordinating both hands and a foot pedal at once. MIG welding is often recommended as a first welding process because the wire feed simplifies filler control.
What amperage should a beginner use for TIG welding thin steel?
For mild steel around 1/8 inch thick, start in the range of 70 to 100 amps and adjust based on how the puddle responds. Thinner metal needs lower amperage to avoid burning through, so always test on scrap before welding your actual project.
Can I learn TIG welding without a foot pedal?
Yes, many machines offer a torch-mounted amperage control or a fixed-amperage setting instead. A foot pedal gives more real-time control over heat, but plenty of welders learn effectively using torch-mounted trigger controls.
Why does my TIG weld keep turning black or discolored?
Discoloration usually means insufficient gas shielding, contaminated tungsten, or welding in a drafty environment. Check your gas flow rate, inspect your hose connections for leaks, and make sure nothing is disrupting the gas coverage around your puddle.
Conclusion
Learning TIG welding basics comes down to controlling four variables at once: your torch angle and arc length, your filler rod rhythm, your travel speed, and your amperage. Clean setup, the right polarity, sharp tungsten, and spotless metal solve more problems before you even strike an arc than technique adjustments ever will afterward.
Start with straight beads with no filler, build up to joints step by step, and practice your foot pedal control separately from your hand movements. Progress in TIG welding comes from consistent, focused repetition, not from long, unfocused sessions at the machine. Stick with it, and clean, strong joints will become second nature.