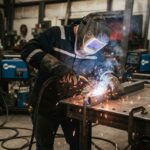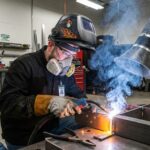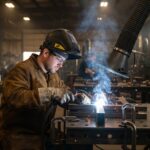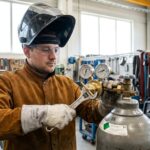


Welding creates harmful fumes that can damage your lungs and cause long term health issues. Studies show that welders face a 40 percent higher risk of respiratory diseases without proper ventilation. A DIY welding fume extractor removes these dangers while keeping your workspace clean and safe.
Why You Need A Welding Fume Extractor
Welding fumes contain tiny metal particles and toxic gases like ozone and nitrogen oxides. Breathing these in can lead to serious health problems over time. Even short exposure can cause dizziness headaches or irritation in your eyes nose and throat.
A fume extractor pulls these harmful particles out of the air before you can breathe them in. It works like a vacuum but is designed specifically for welding smoke. This keeps your lungs safe and your workspace visible.
Without proper ventilation these fumes can build up quickly in enclosed spaces. Many welders do not realize how much they are inhaling until they start feeling sick. A good extractor removes up to 99 percent of airborne contaminants.
Cleaning your workspace after welding can also be a hassle without an extractor. Soot and dust settle on surfaces and can be hard to remove. An extractor helps keep your area cleaner and reduces the time you spend on maintenance.
Investing in a fume extractor is not just about health it is also about productivity. When your workspace is free of smoke you can see your work better and complete projects faster. Plus you will feel better at the end of the day.
Understanding The Basics Of A DIY Fume Extractor
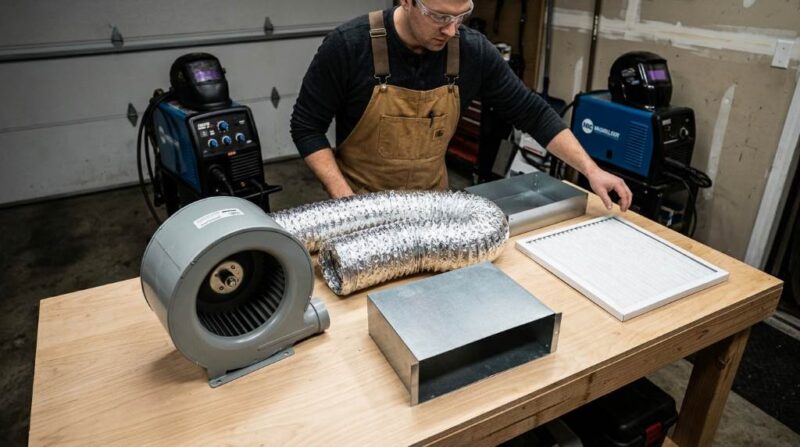
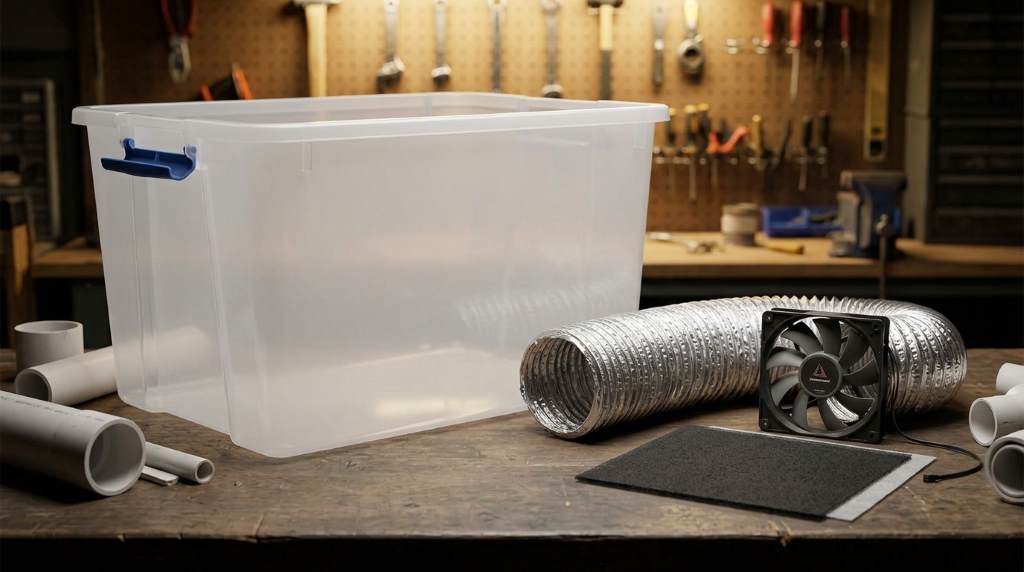
A DIY welding fume extractor has a few key parts that work together to clean the air. The fan is the heart of the system pulling in the dirty air and pushing it through the filters. The ductwork carries the air from your welding area to the fan and filters.
Filters are what actually clean the air. There are different types but the most common for welding are HEPA and activated carbon. HEPA filters catch tiny particles while activated carbon removes gases and odors.
The size of your fan and ductwork depends on how big your workspace is and how much welding you do. A small garage shop might only need a 4 inch duct while a larger space could require 6 inches or more. Bigger is not always better though as it can reduce suction power.
You will also need to decide where to place your extractor. Some people mount it on the wall or ceiling while others use a portable stand. The key is to position the intake near your welding area so it can capture the fumes as they rise.
Before you start building make sure you have a clear plan. Sketch out where everything will go and measure your space. This will save you time and frustration later. Also check local codes to make sure your setup meets safety standards.
Materials And Tools You Will Need
To build a basic DIY welding fume extractor you will need a high quality fan or blower. Look for one with enough power to move air through your ductwork and filters. A centrifugal fan is a good choice because it can handle the resistance of filters.
Next you will need ductwork to carry the air. Galvanized steel ducts are strong and durable but flexible aluminum ducts are easier to install. Make sure the diameter matches your fan size for the best airflow.
Filters are another important part of your system. A pre filter can catch larger particles and extend the life of your main filter. For welding fumes a HEPA filter is a must to catch the tiny metal particles.
You will also need some basic tools like a drill tin snips and a screwdriver. A jigsaw can be helpful for cutting holes in metal or wood if you are building a custom housing. Do not forget safety gear like gloves and goggles.
Other useful items include clamps to secure the ducts hose clamps for flexible ducts and sealant to prevent leaks. You might also want a switch to turn the fan on and off easily. Gather everything before you start so you do not have to stop mid project.
Step By Step Guide To Building Your Extractor
Step 1: Choose Your Fan
The fan is the most important part of your fume extractor. It needs to be strong enough to pull air through your ducts and filters. Look for a fan with a high CFM rating which stands for cubic feet per minute.
For a small workshop a fan with 500 to 800 CFM should be enough. If you have a larger space or do a lot of welding you might need 1000 CFM or more. Check the fan specs to make sure it can handle the resistance of your filters.
Centrifugal fans are a good choice because they can move air against resistance. Axial fans are cheaper but not as effective for fume extraction. You can find these fans online or at HVAC supply stores.
Make sure the fan is rated for continuous use. Some fans are only meant for short periods and can overheat if left running too long. Safety should always be your top priority.
Step 2: Design Your Ductwork
The ductwork carries the dirty air from your welding area to the fan and filters. The design depends on your workspace layout. For a small shop a straight duct might be all you need.
If your welding area is far from the fan you might need elbows or branches to direct the airflow. Try to keep the ductwork as short and straight as possible for the best airflow. Every turn reduces the efficiency of your system.
Use the same diameter for all your ducts to avoid air pressure drops. If you must change sizes do it gradually with a reducer. Secure all joints with clamps or sealant to prevent leaks.
Flexible ducts are easier to install but can kink and reduce airflow. Rigid ducts are more efficient but harder to work with. Choose the type that works best for your setup.
Step 3: Install The Filters
Filters are what clean the air in your fume extractor. For welding fumes you will need at least a HEPA filter to catch the tiny metal particles. Some systems also use a pre filter to catch larger particles first.
Activated carbon filters can remove gases and odors from the air. These are optional but can be helpful if you weld materials that create strong smells. Make sure your fan is strong enough to pull air through all the filters.
Install the filters in the order of pre filter HEPA filter and then activated carbon filter if using one. This setup helps extend the life of your more expensive filters. Secure the filters tightly to prevent air from bypassing them.
Check the filters regularly and replace them when they get clogged. A clogged filter reduces airflow and makes your fan work harder. Some filters can be cleaned and reused while others need to be replaced.
Step 4: Assemble The System
Start by mounting your fan in a secure location. It should be close to your welding area but not so close that it gets in the way. Make sure it is level and securely attached to prevent vibrations.
Next attach the ductwork to the fan inlet. Use clamps or sealant to make sure there are no leaks. Run the ducts to your welding area and position the intake near where you weld.
If you are using a portable setup you can mount the fan and ducts on a stand with wheels. This lets you move the extractor to where you need it. Make sure the stand is stable and will not tip over.
Once everything is in place turn on the fan and test the airflow. You should feel a strong pull at the intake. If not check for leaks or blockages in the ducts.
Step 5: Test And Adjust
After assembling your fume extractor it is important to test it thoroughly. Turn on the fan and check for any unusual noises or vibrations. These could indicate a problem with the fan or ductwork.
Use a smoke pencil or incense stick to test the airflow. Hold it near the intake and see if the smoke is pulled in. If not you may need to adjust the position of the intake or check for leaks.
Make sure the extractor is capturing the fumes from your welding area. You may need to move the intake closer or adjust the angle. The goal is to capture the fumes as they rise before they spread.
Monitor the system for the first few uses to make sure it is working properly. Check the filters regularly to see how quickly they are getting dirty. This will give you an idea of how often they need to be replaced.
Unique Tips For Better Performance
One often overlooked tip is to use a variable speed control for your fan. This lets you adjust the airflow based on the type of welding you are doing. For example you might need more suction for stick welding than for MIG welding.
Another unique idea is to add a spark arrestor to your system. This is a simple screen that catches sparks before they reach the fan or filters. It is a cheap and effective way to prevent fires in your fume extractor.
You can also improve airflow by using smooth ducts instead of corrugated ones. Smooth ducts have less resistance and allow air to flow more freely. This can make your system more efficient and quieter.
Consider adding a light to your welding area that turns on when the fan is running. This serves as a reminder to use the extractor every time you weld. It is a simple but effective way to improve safety in your shop.
Finally do not forget to clean your workspace regularly. Dust and debris can build up in your ducts and reduce airflow. A clean workspace also means less dust and fumes in the air to begin with. Properly clean weld joint preparation can also reduce the amount of smoke created during welding.
Maintenance And Safety Tips
Regular maintenance is key to keeping your fume extractor working properly. Check the filters every few weeks and replace them when they get dirty. A clogged filter reduces airflow and makes your fan work harder.
Clean the ductwork periodically to remove dust and debris. You can use a vacuum or a brush to reach inside the ducts. Make sure the fan is turned off and unplugged before you start cleaning.
Inspect the fan and motor regularly for signs of wear. Listen for unusual noises or vibrations that could indicate a problem. Address any issues right away to prevent further damage.
Always follow safety guidelines when using your fume extractor. Make sure it is properly grounded to prevent electrical shocks. Keep flammable materials away from the fan and ducts to reduce the risk of fire.
Never weld without the extractor running. Even a few minutes of exposure to welding fumes can be harmful. If you notice any issues with your extractor stop welding and fix the problem before continuing. Understanding the welding rods differences can also help you choose the right materials for your projects and reduce fume production.
Common Mistakes To Avoid
One common mistake is using a fan that is too weak for the job. A fan with low CFM will not be able to pull enough air through the ducts and filters. This can lead to poor airflow and a buildup of fumes in your workspace.
Another mistake is using ducts that are too small or too long. Small ducts create resistance and reduce airflow. Long ducts can also lose airflow due to friction. Keep your ducts as short and straight as possible.
Many people also forget to seal the joints in their ductwork. Leaks can reduce airflow and let fumes escape into your workspace. Use clamps or sealant to make sure all joints are tight.
Using the wrong type of filter is another common mistake. Not all filters are designed for welding fumes. Make sure you use a HEPA filter or one that is specifically rated for welding.
Finally do not neglect maintenance. A fume extractor that is not properly maintained will not work effectively. Regular cleaning and filter changes are essential for keeping your system running smoothly.
Conclusion
Building a DIY welding fume extractor is a smart investment in your health and productivity. It removes harmful fumes from your workspace and keeps the air clean. With the right materials and a little effort you can create a system that works just as well as a commercial one.
Start by choosing a strong fan and designing your ductwork. Install the filters and assemble the system carefully. Test and adjust as needed to make sure it is working properly.
Do not forget to maintain your extractor regularly. Check the filters clean the ducts and inspect the fan for signs of wear. This will keep your system running efficiently for years to come.
Safety should always be your top priority. Never weld without the extractor running and always follow safety guidelines. With a good fume extractor you can weld with confidence knowing that your health is protected.
Take the first step today and start building your DIY welding fume extractor. Your lungs will thank you.
FAQs
What is the best type of fan for a DIY welding fume extractor?
A centrifugal fan is the best choice because it can handle the resistance of filters and ducts.
How often should I replace the filters in my fume extractor?
Check the filters every few weeks and replace them when they get dirty or clogged.
Can I use a regular vacuum cleaner as a fume extractor?
No a regular vacuum cleaner is not designed for welding fumes and can be a fire hazard.
How do I know if my fume extractor is working properly?
Use a smoke pencil or incense stick to test the airflow at the intake.
What is the best way to clean the ductwork in my fume extractor?
Use a vacuum or brush to remove dust and debris from the ducts regularly.